
05/04/2017
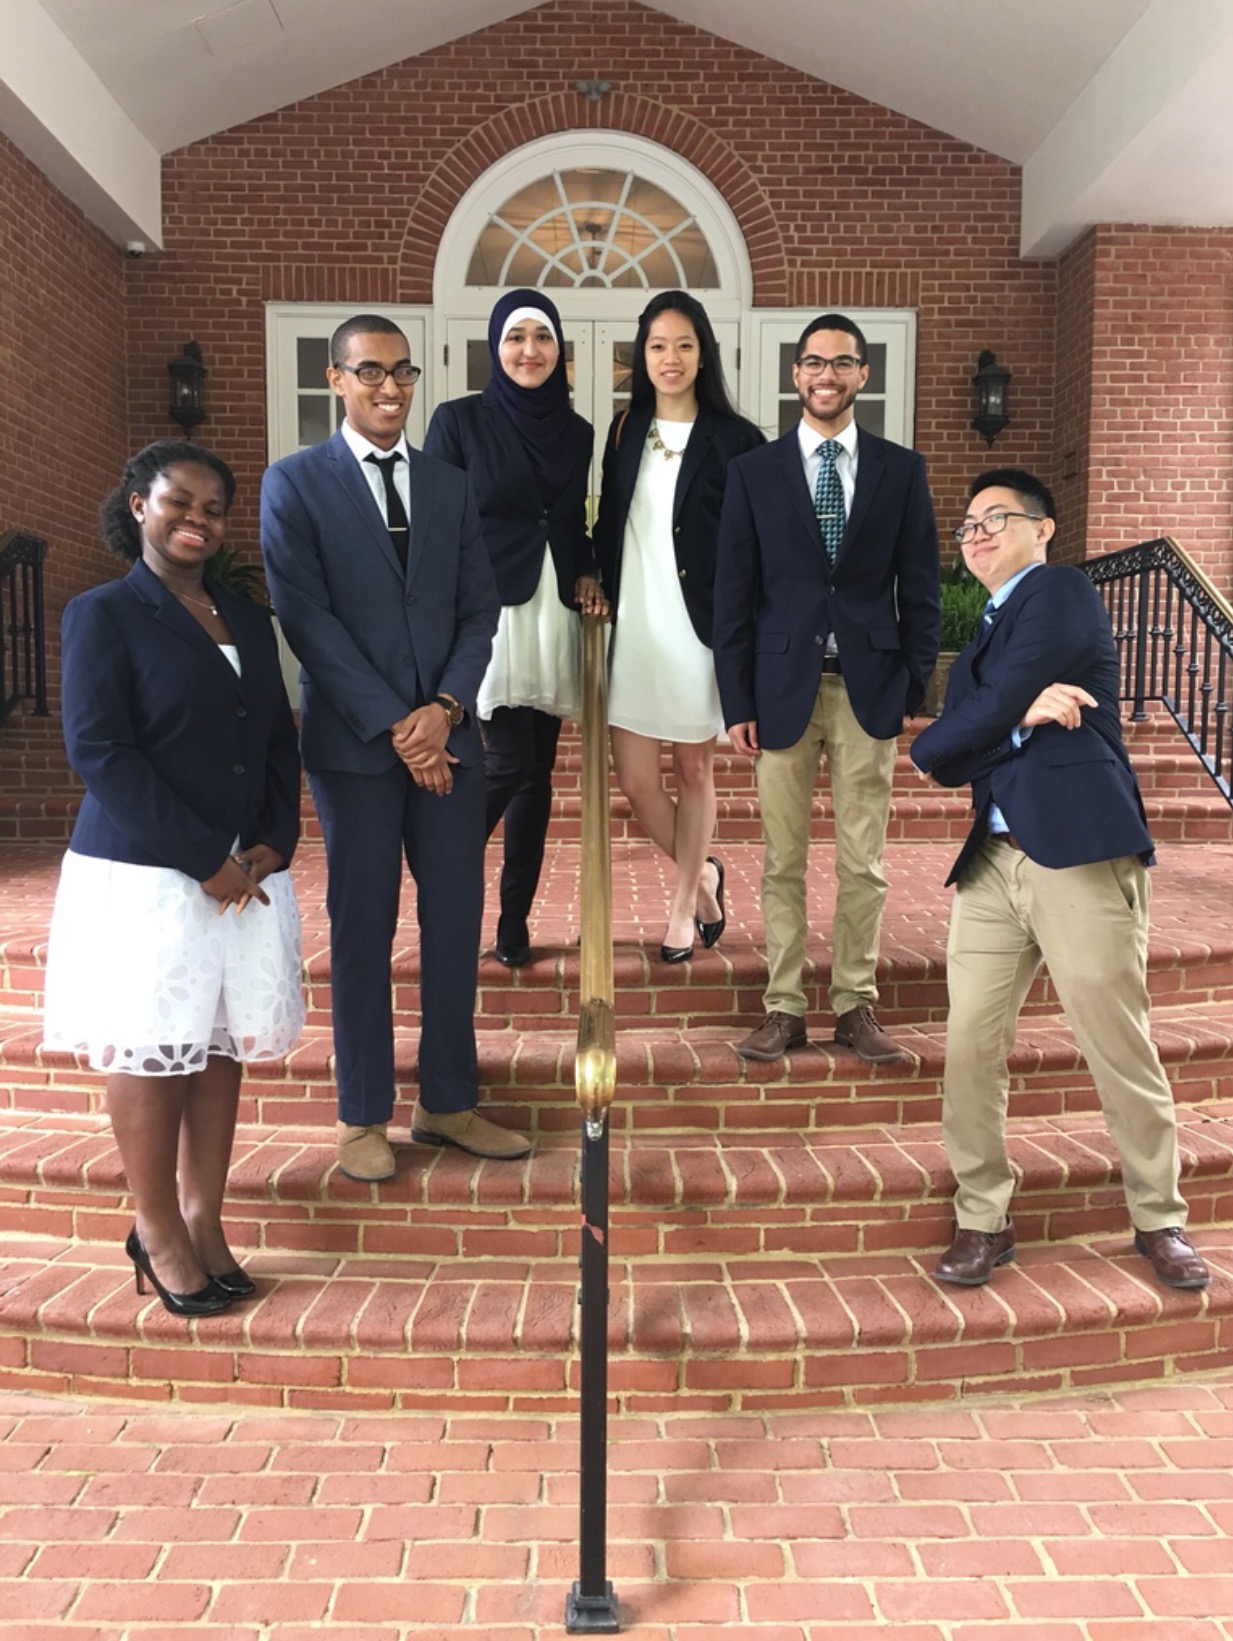
Our team was chosen to present to the Deans Advisory Board. It was a great opportunity in which we shared our research design project with the advisory board at GMU. Check out our group pic below!
04/28/2017
Our team had our final presentation. It was a success. We have come to a bittersweet end!

04/21/2017
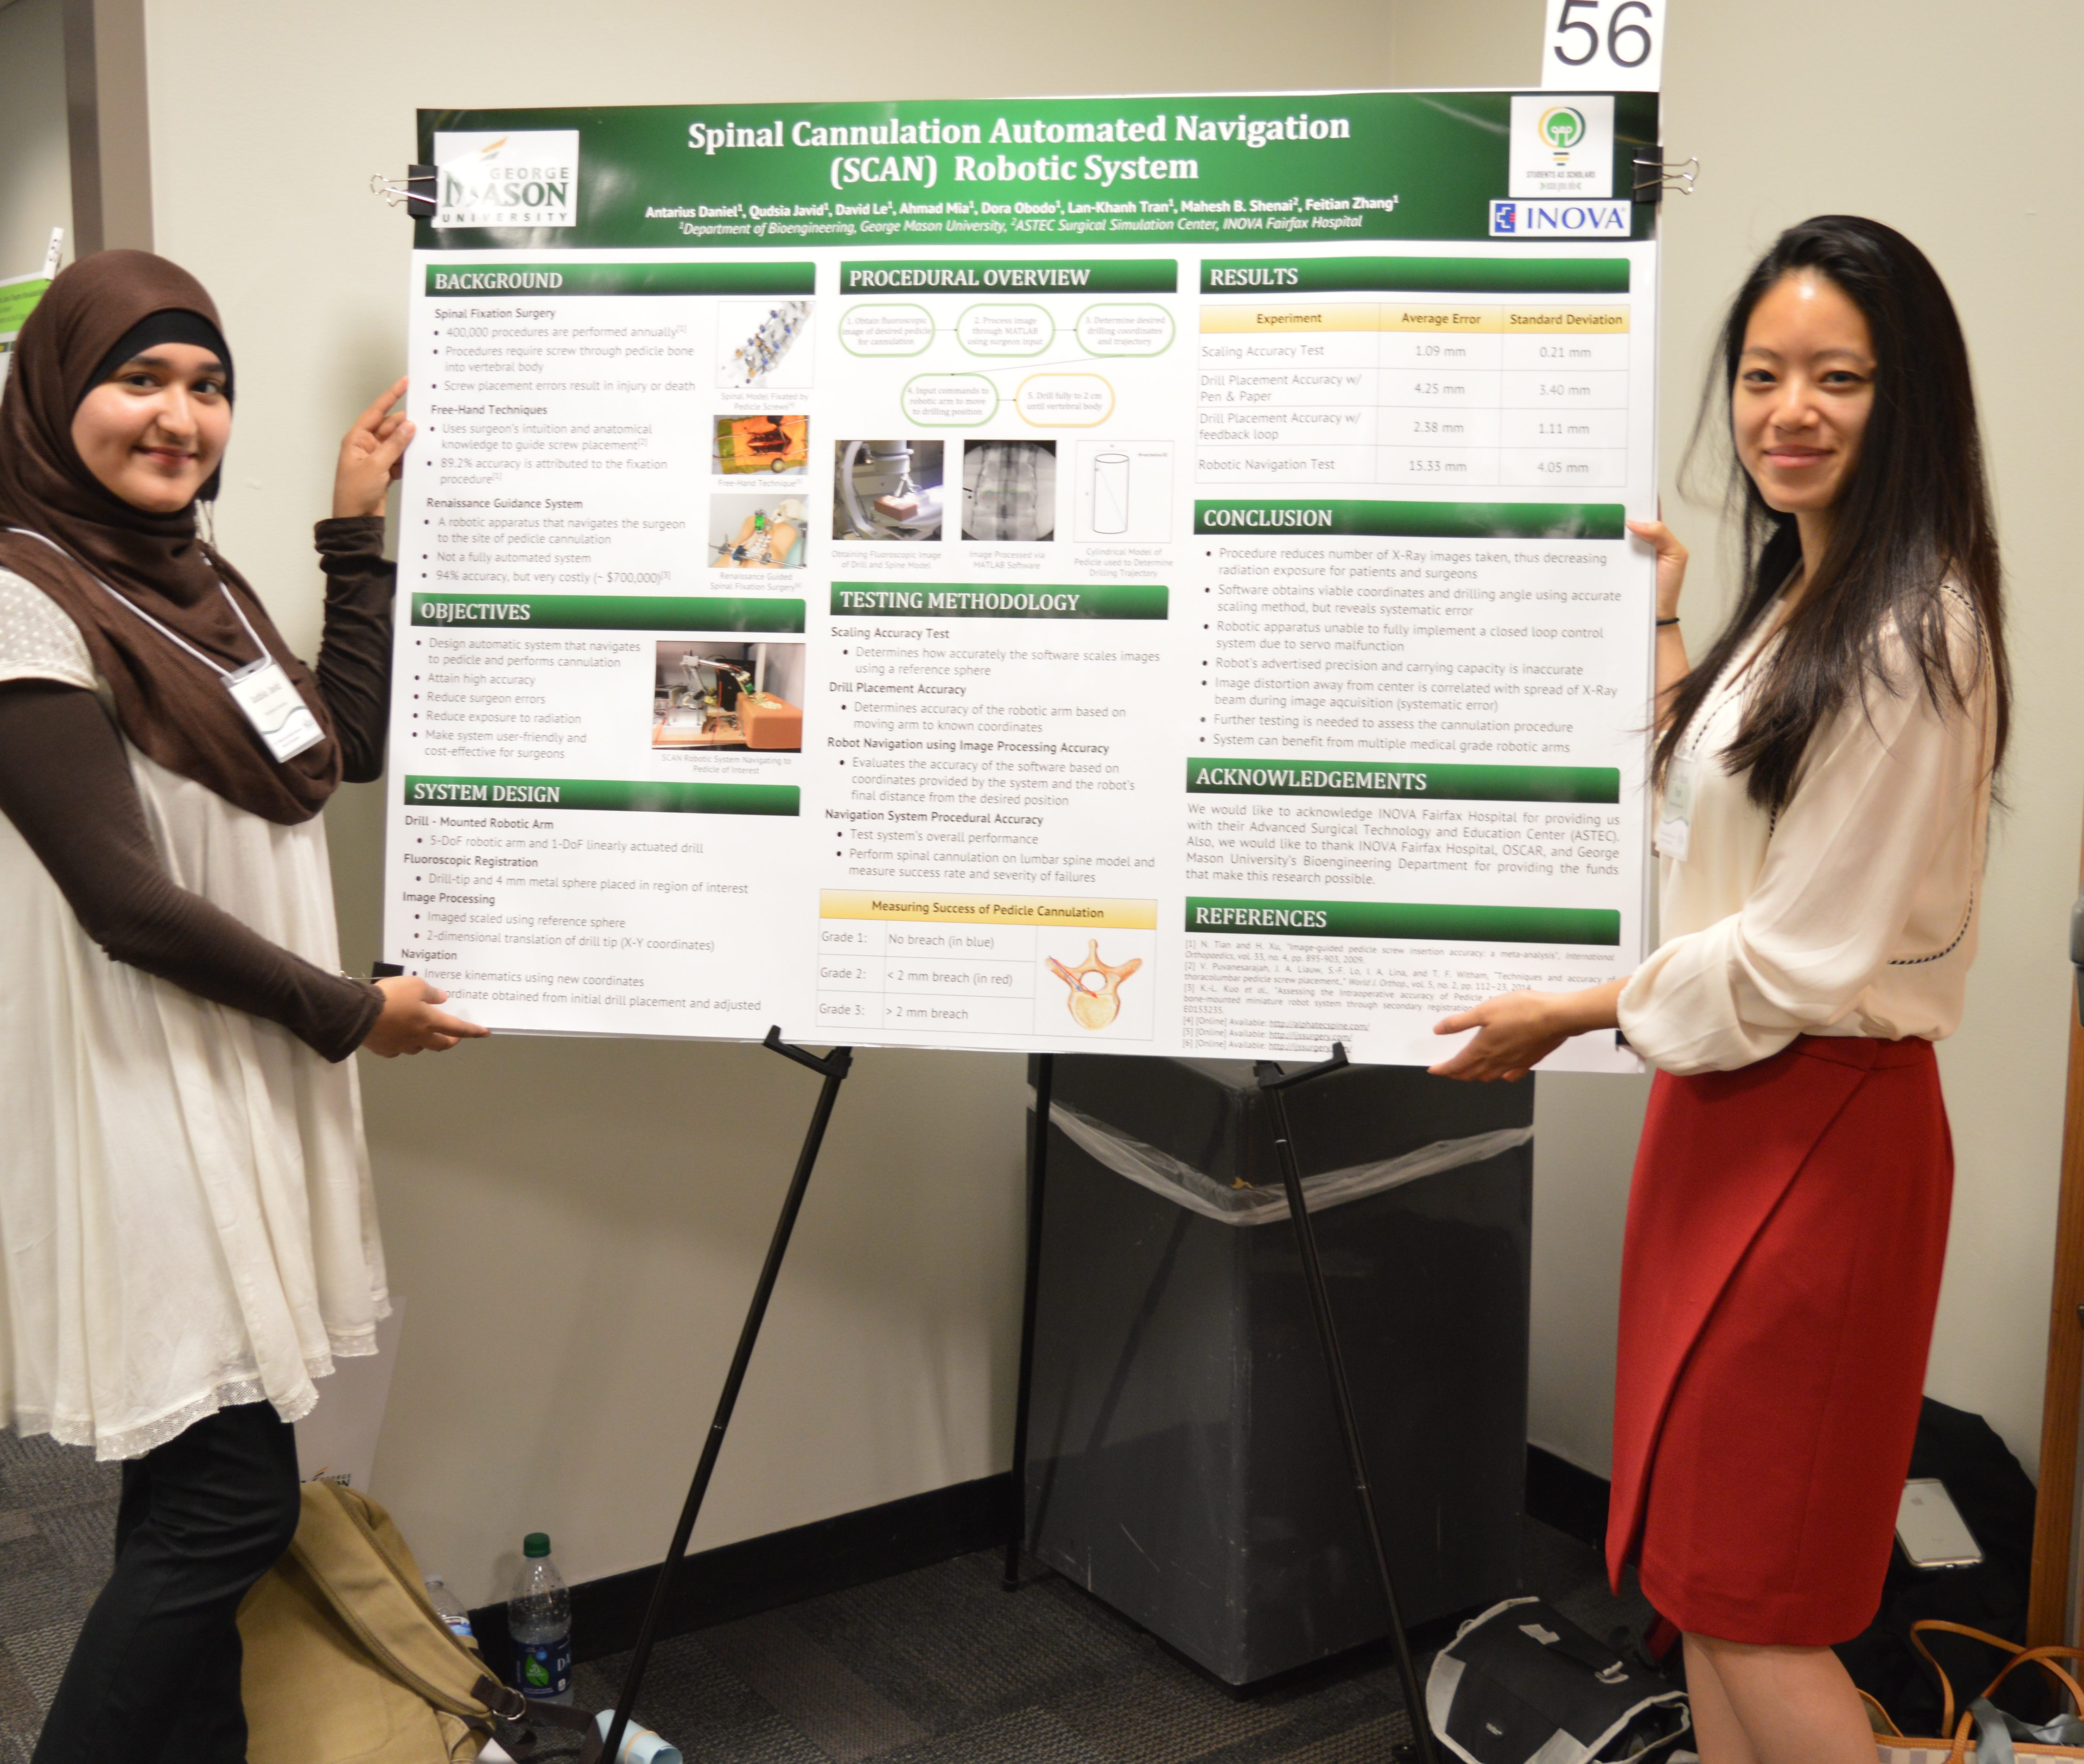
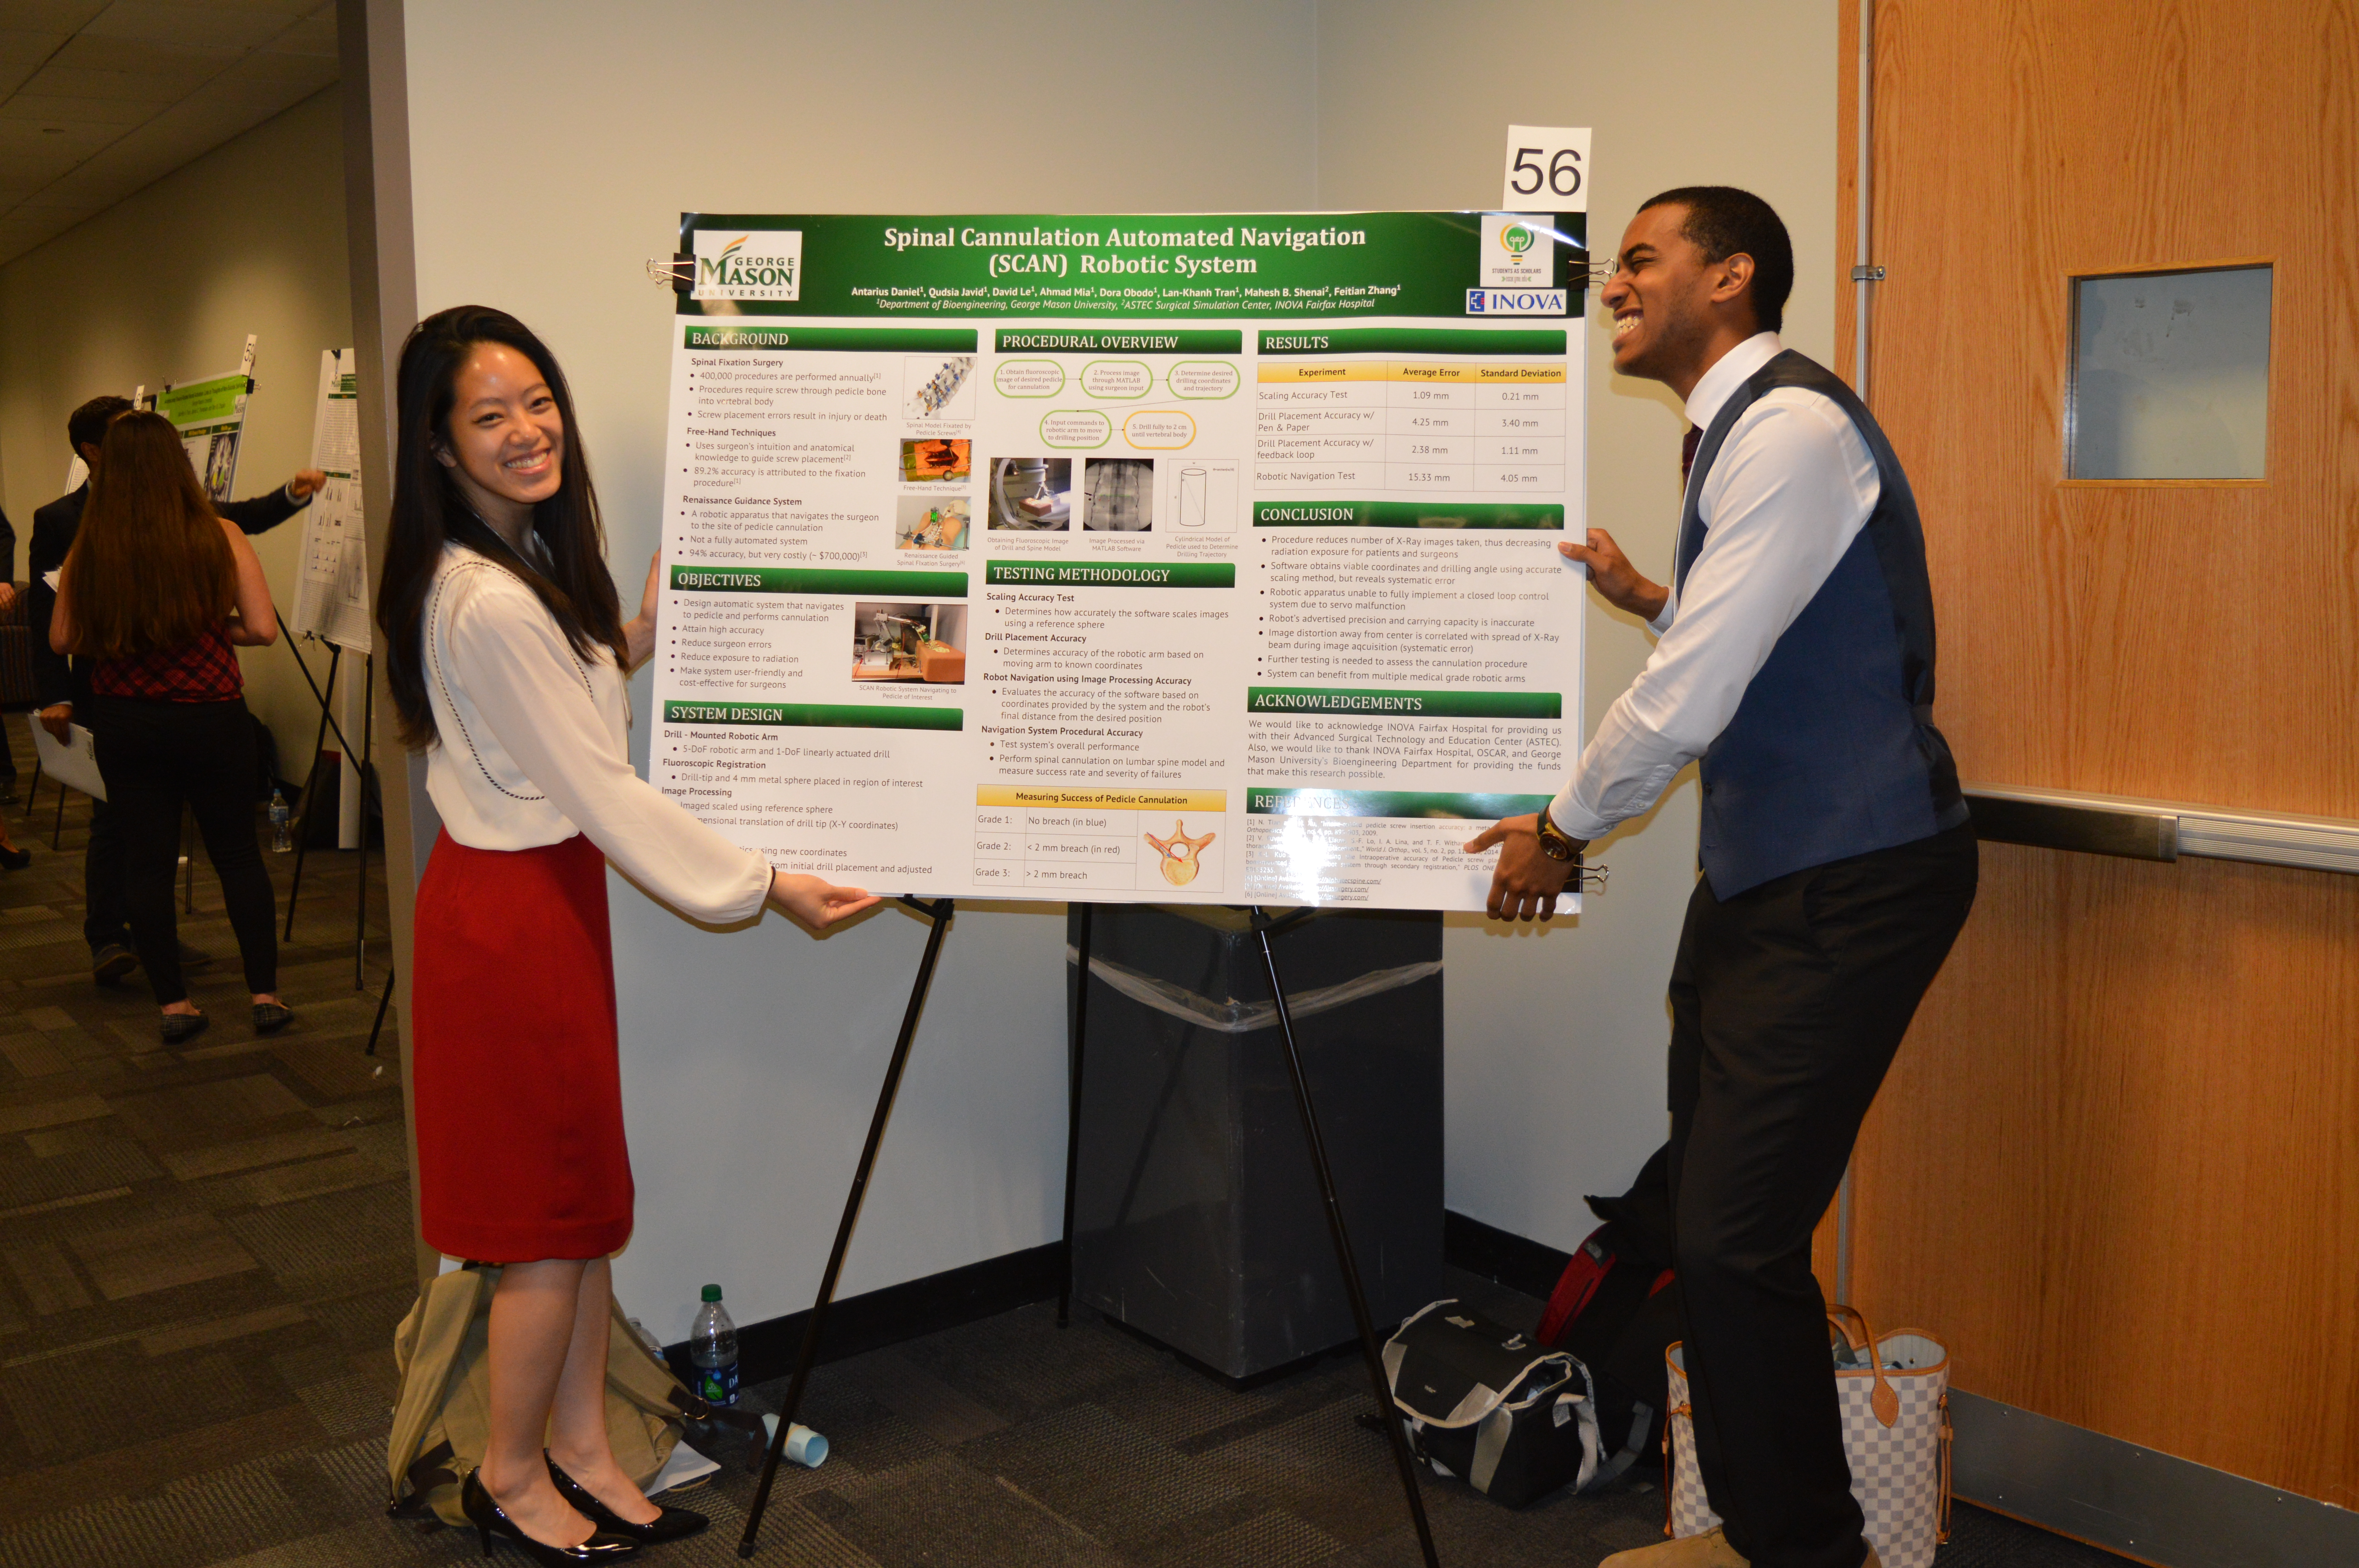
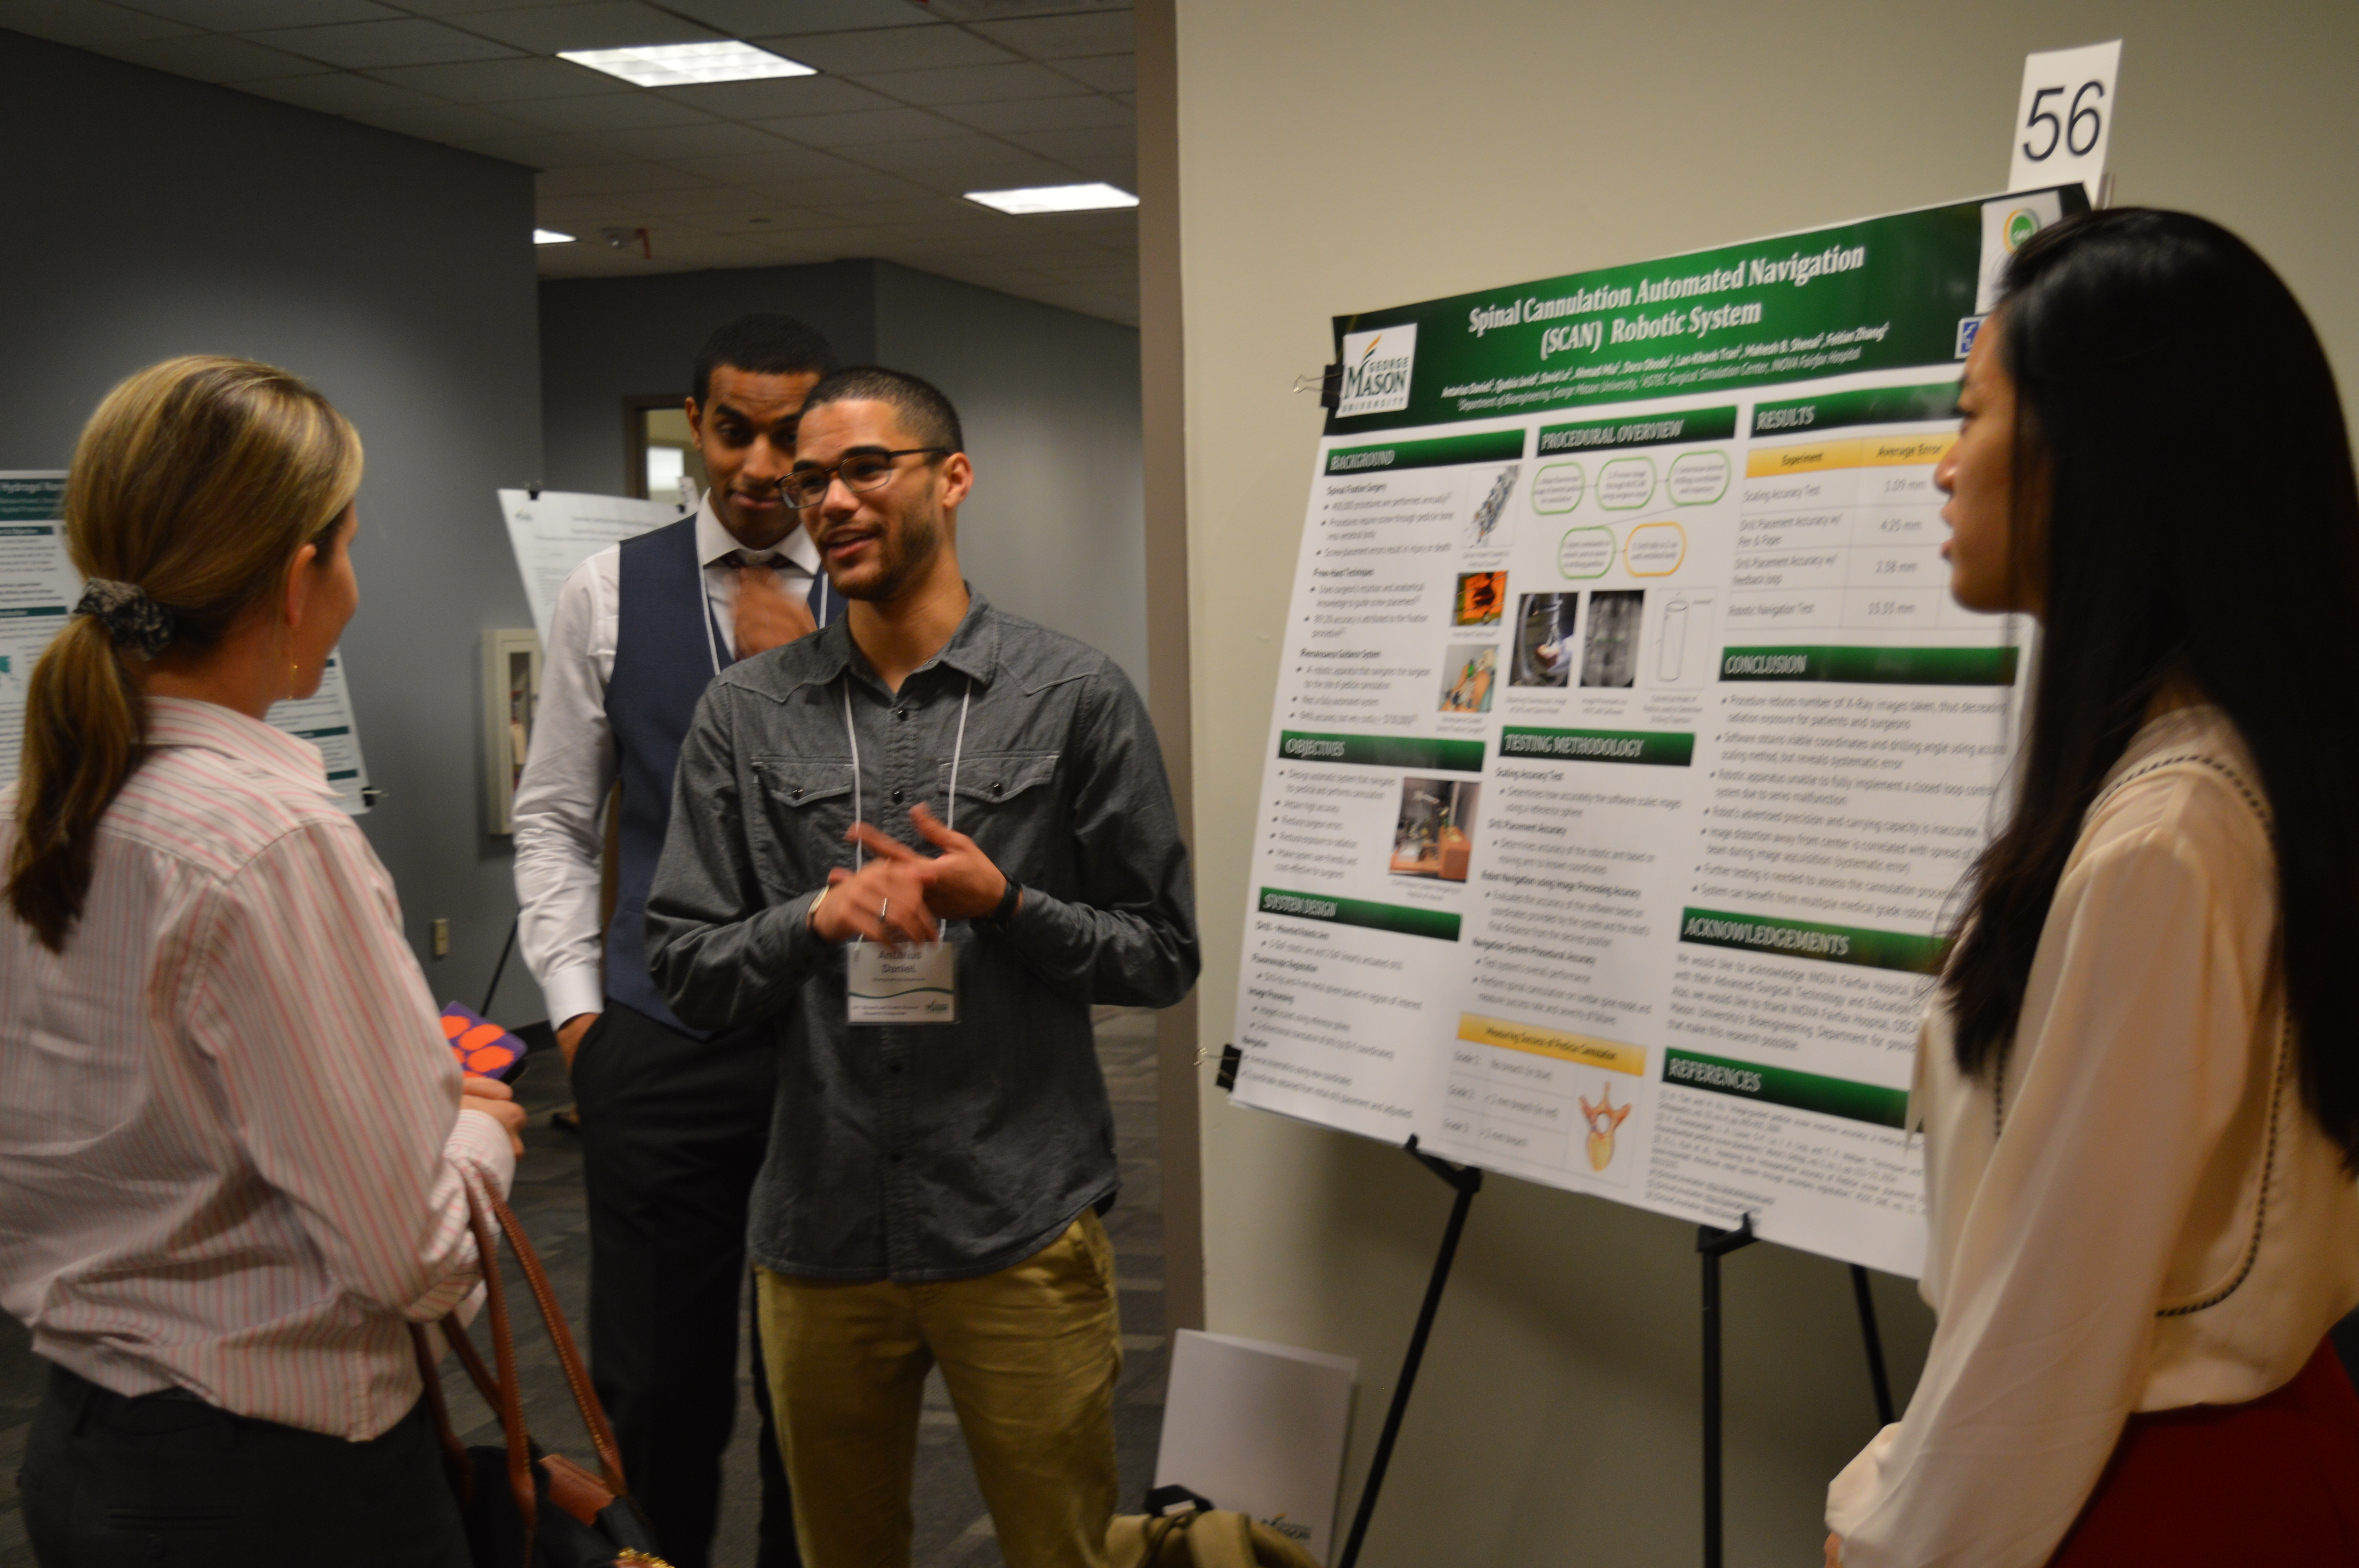
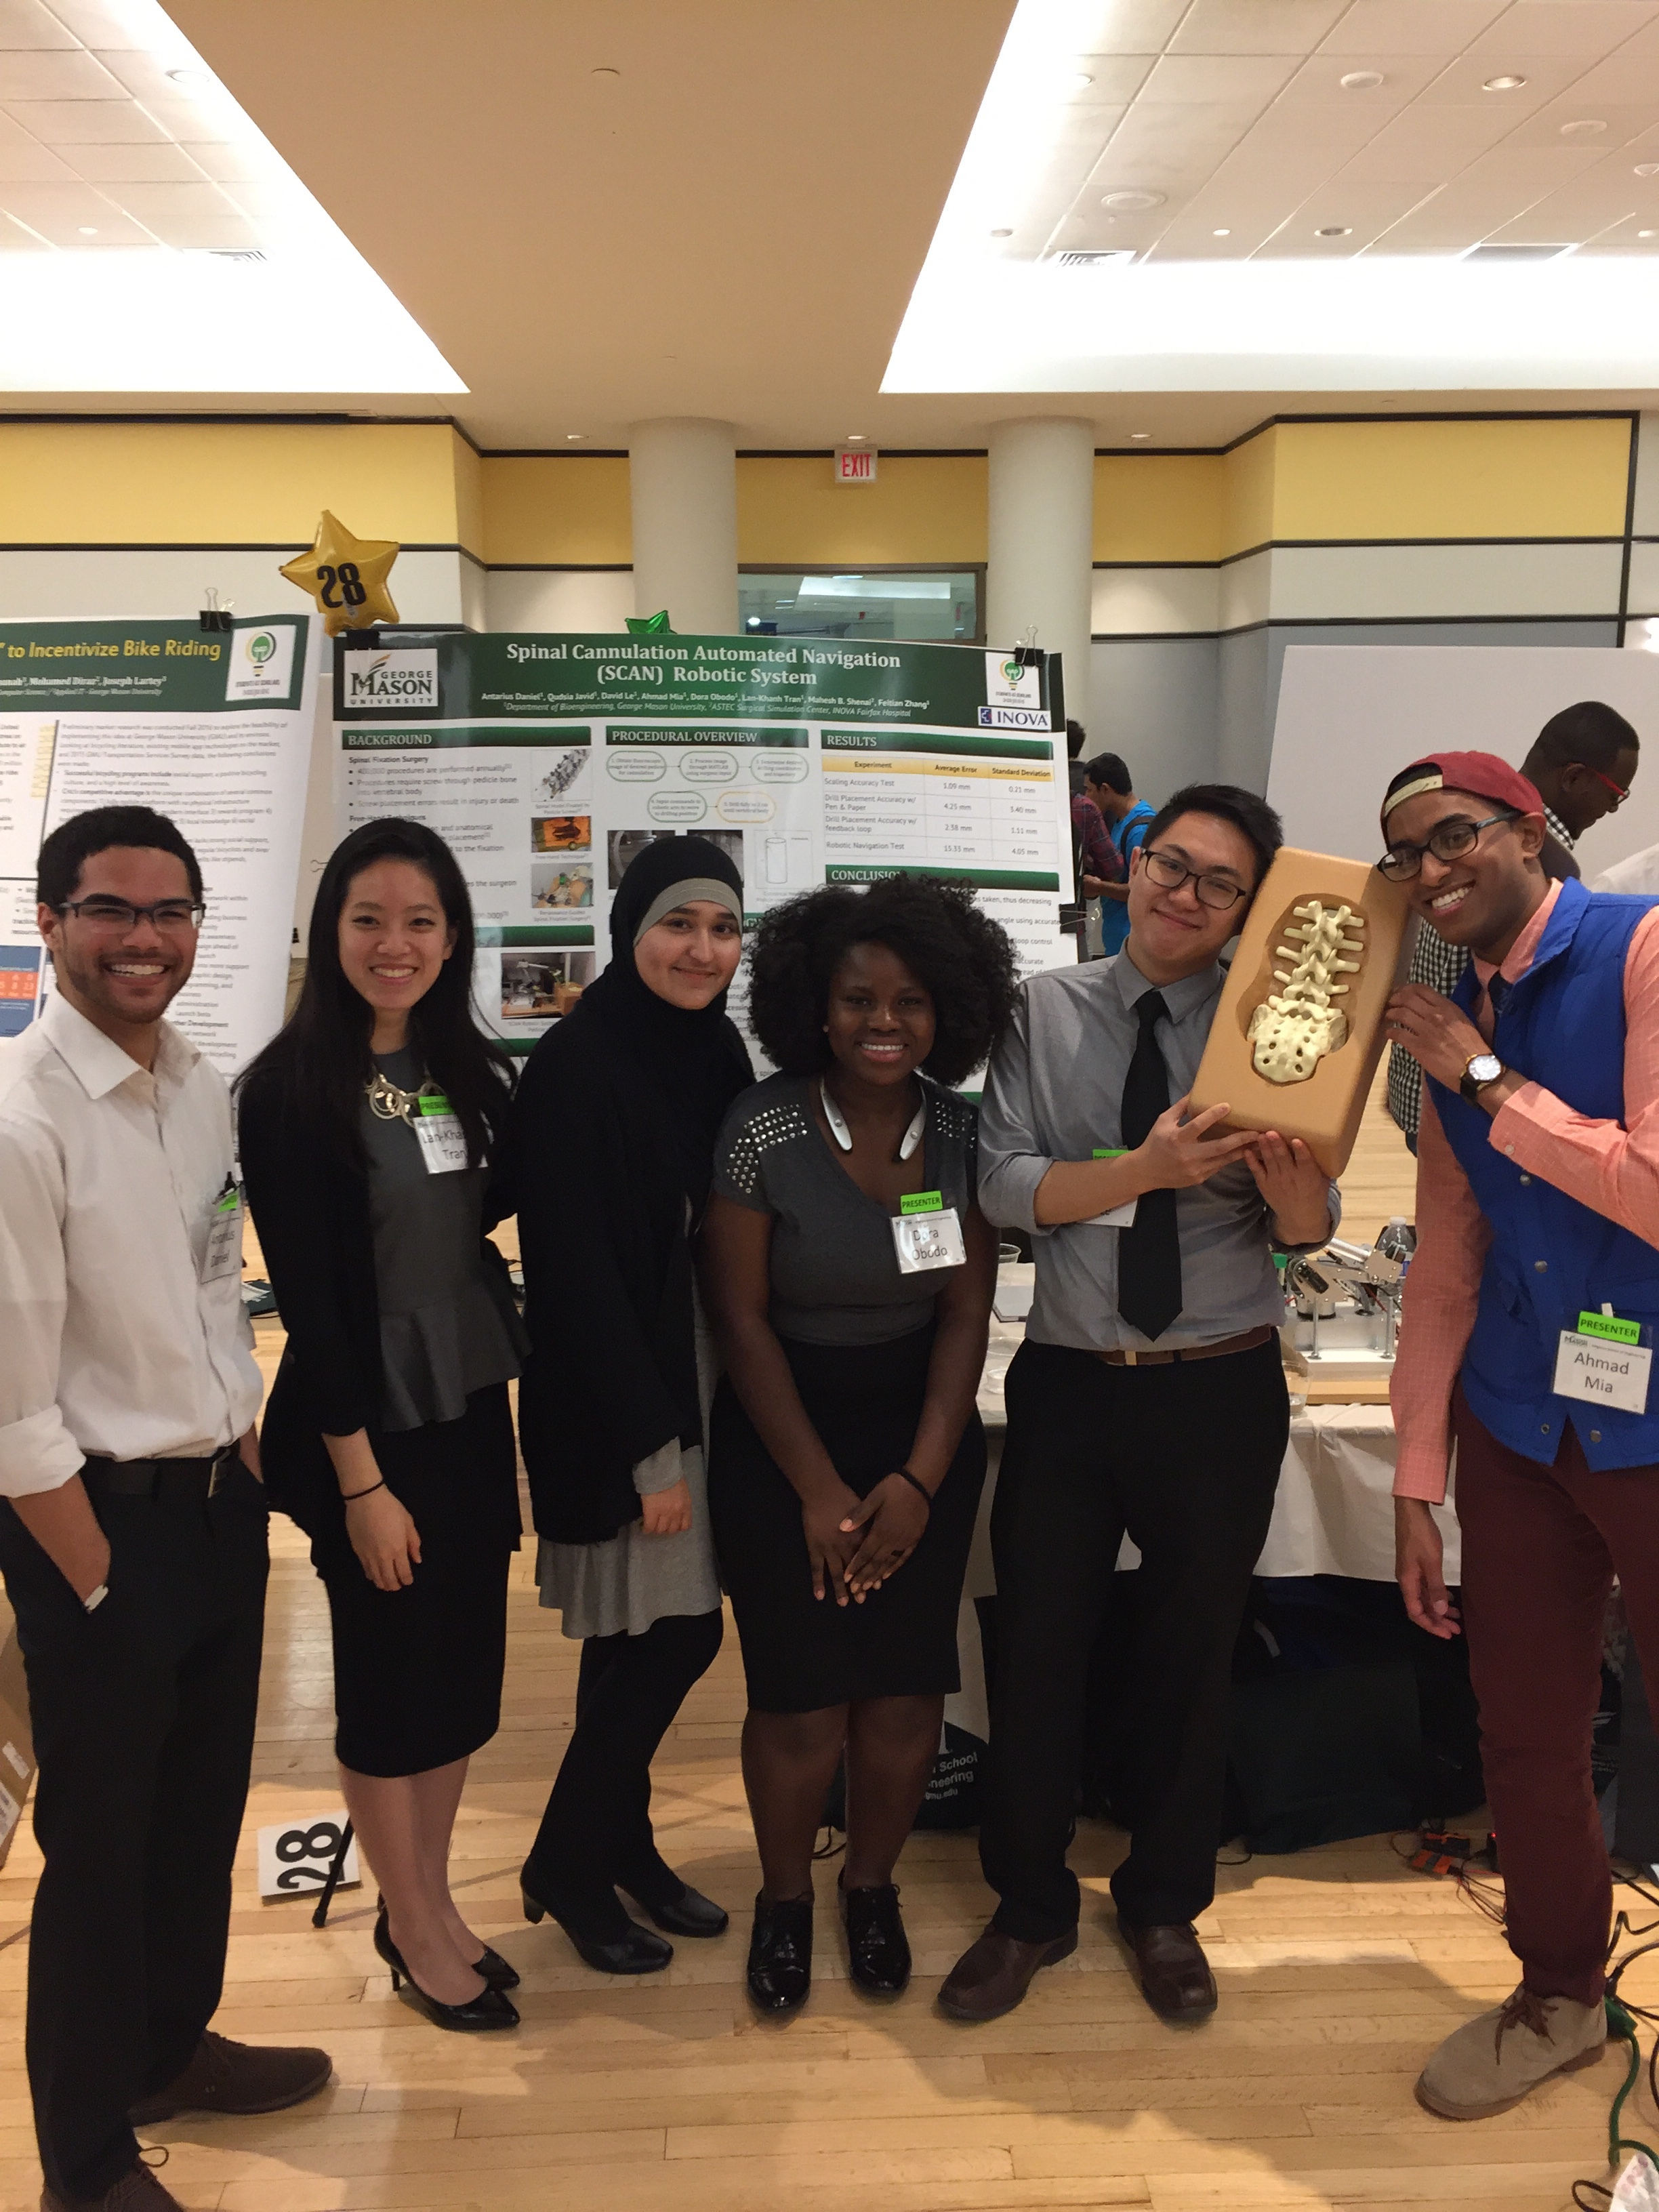
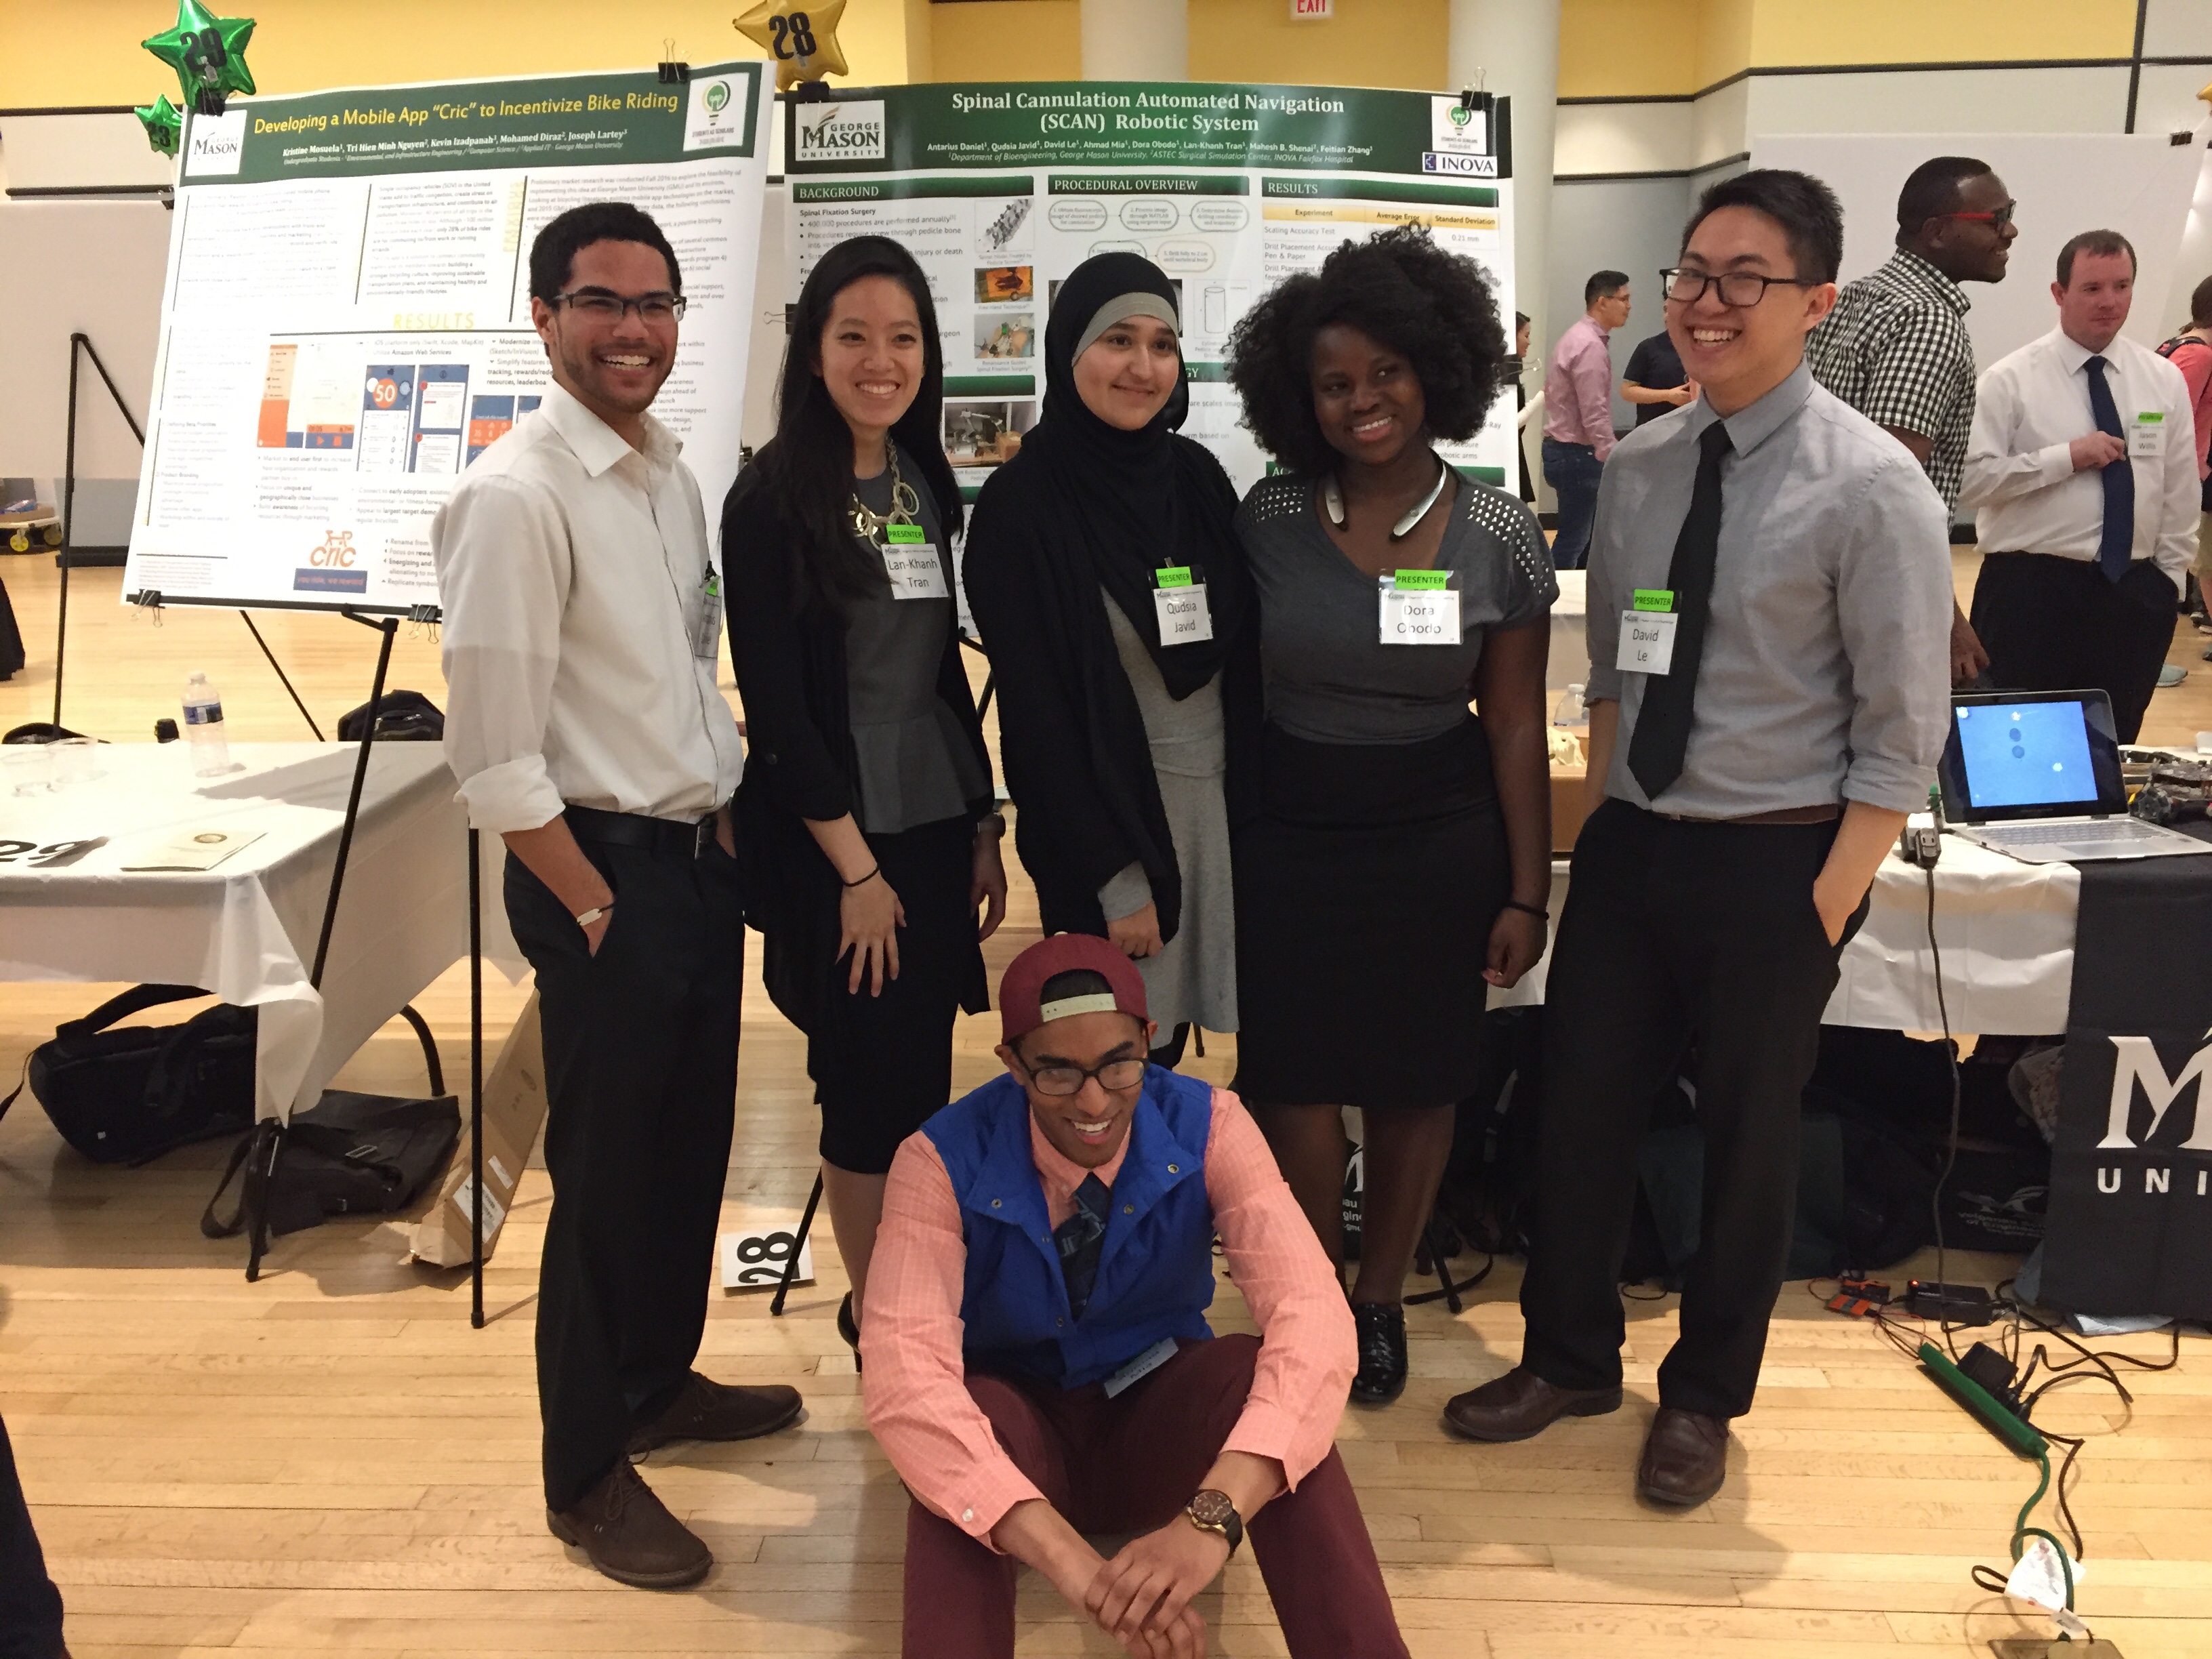
We presented our poster again at the Biotech Symposium. Check out our photos below!
04/20/2017
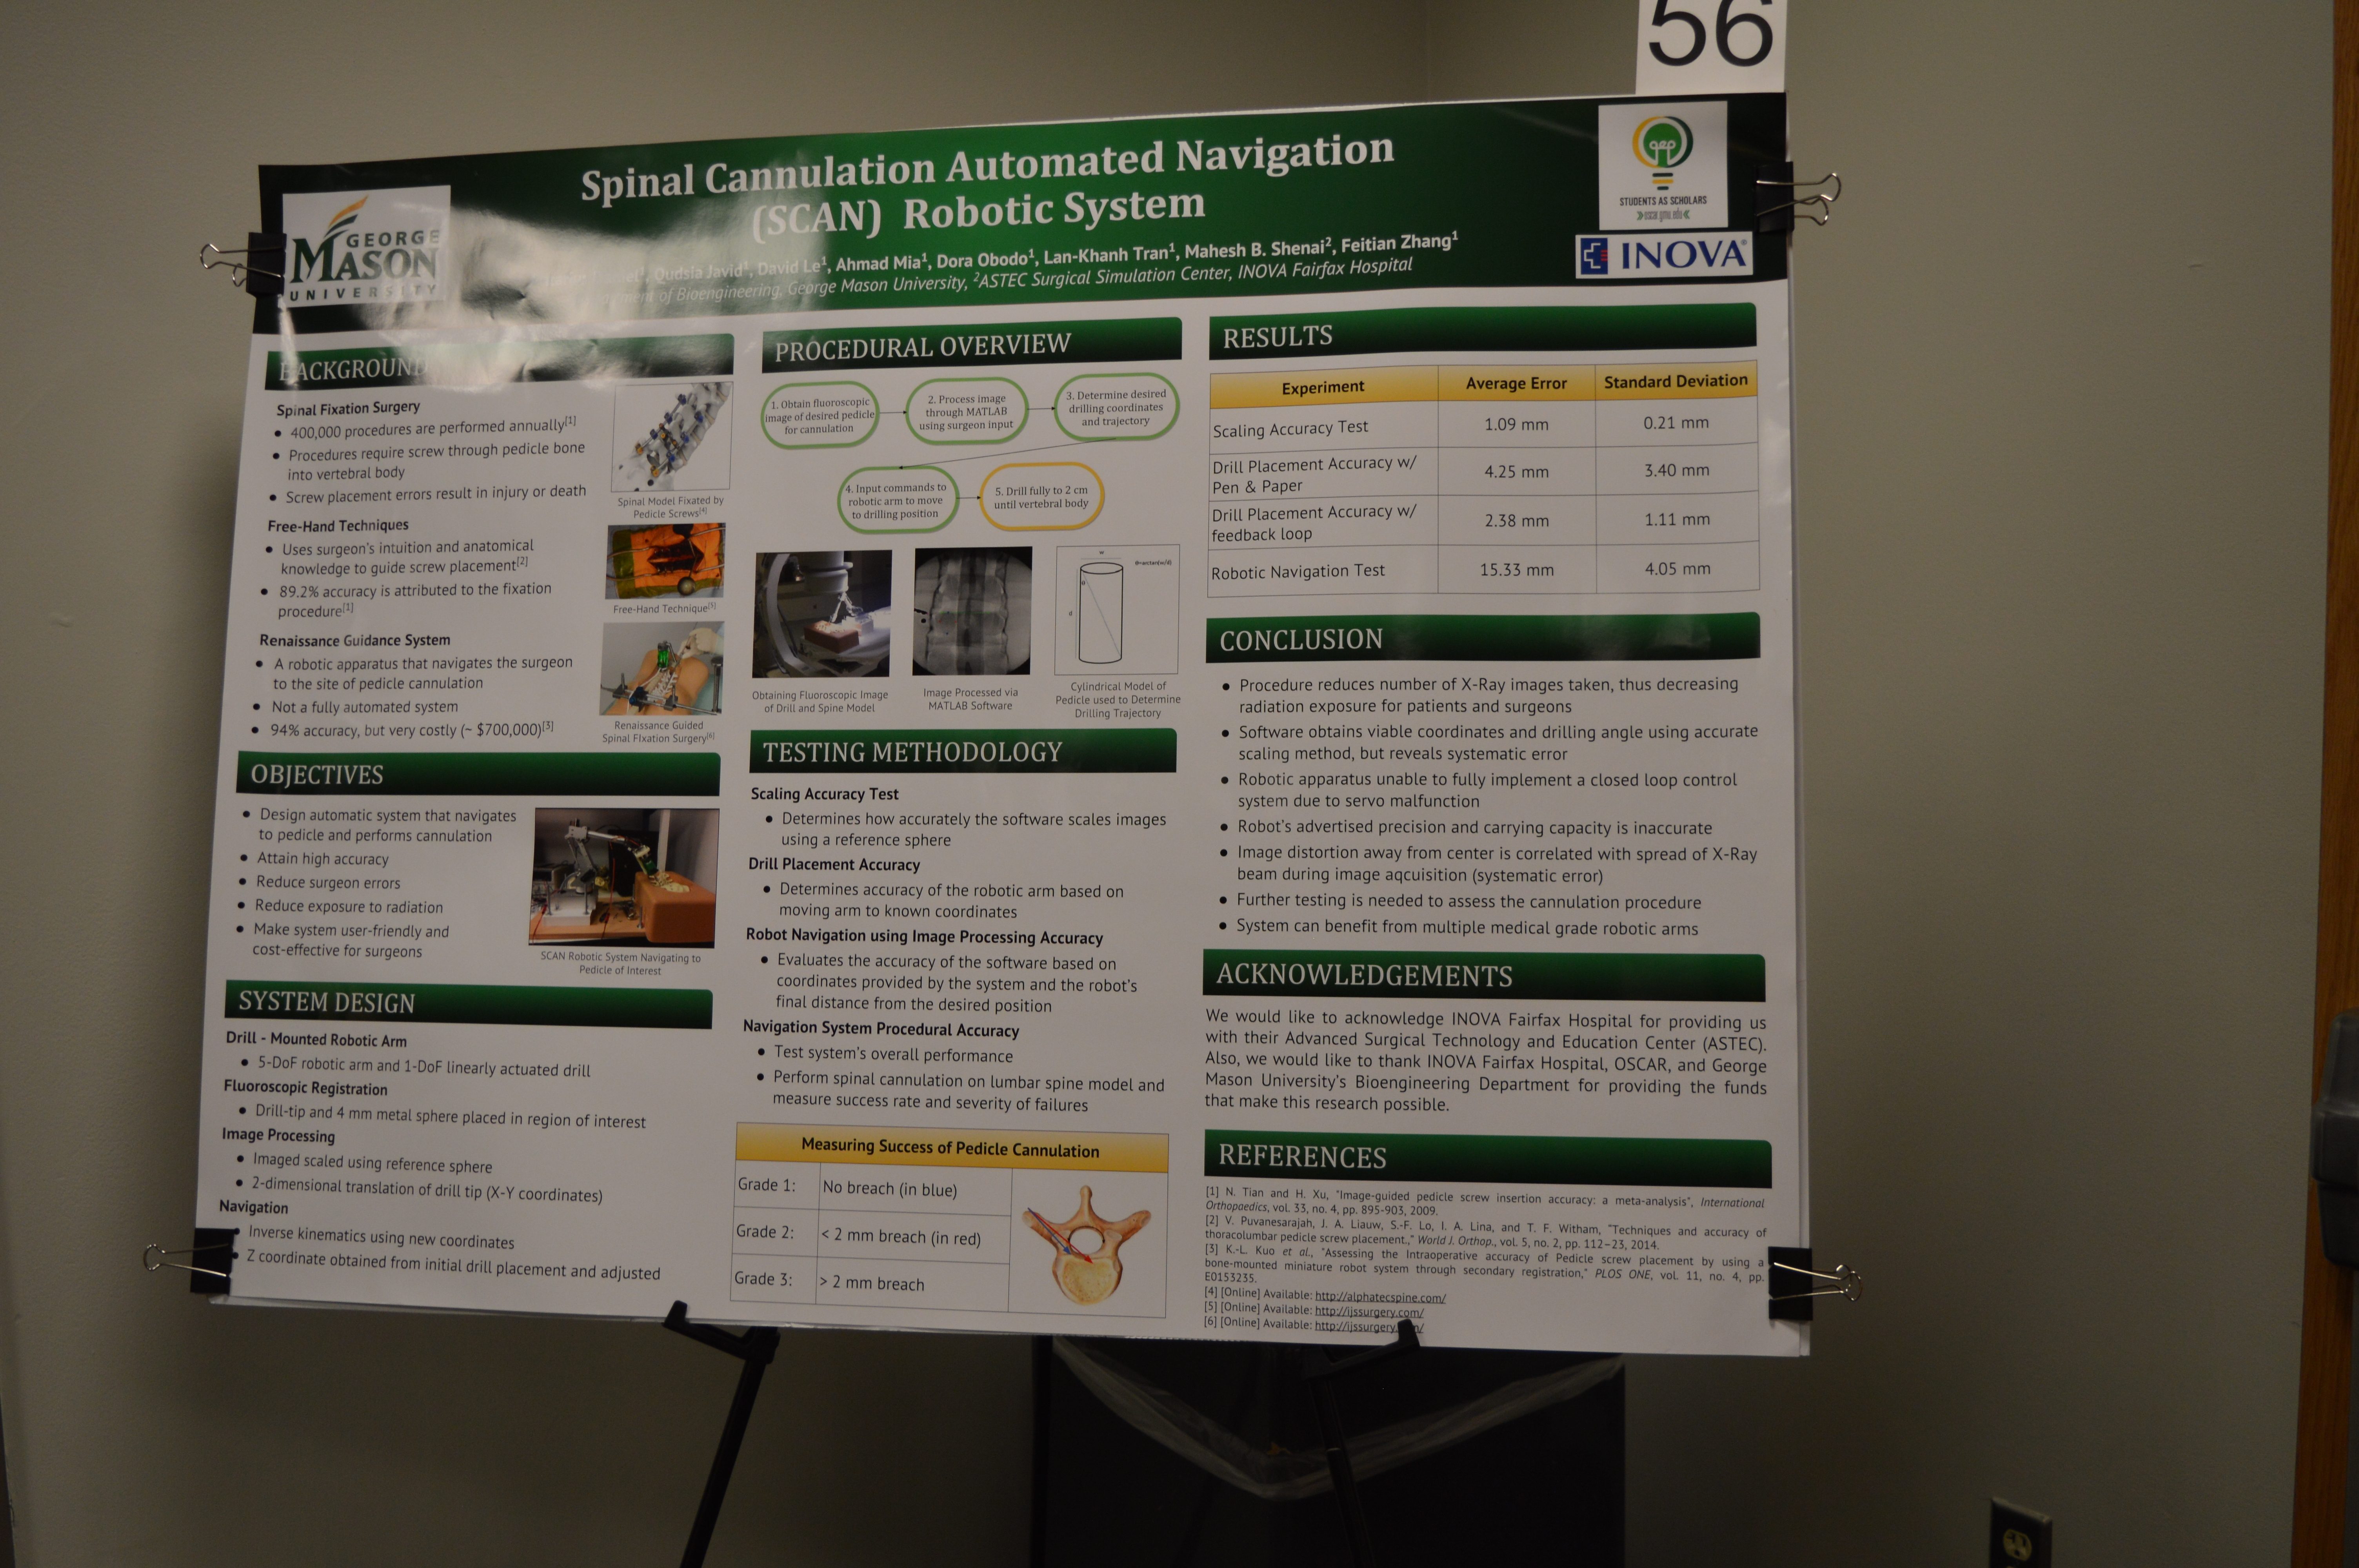
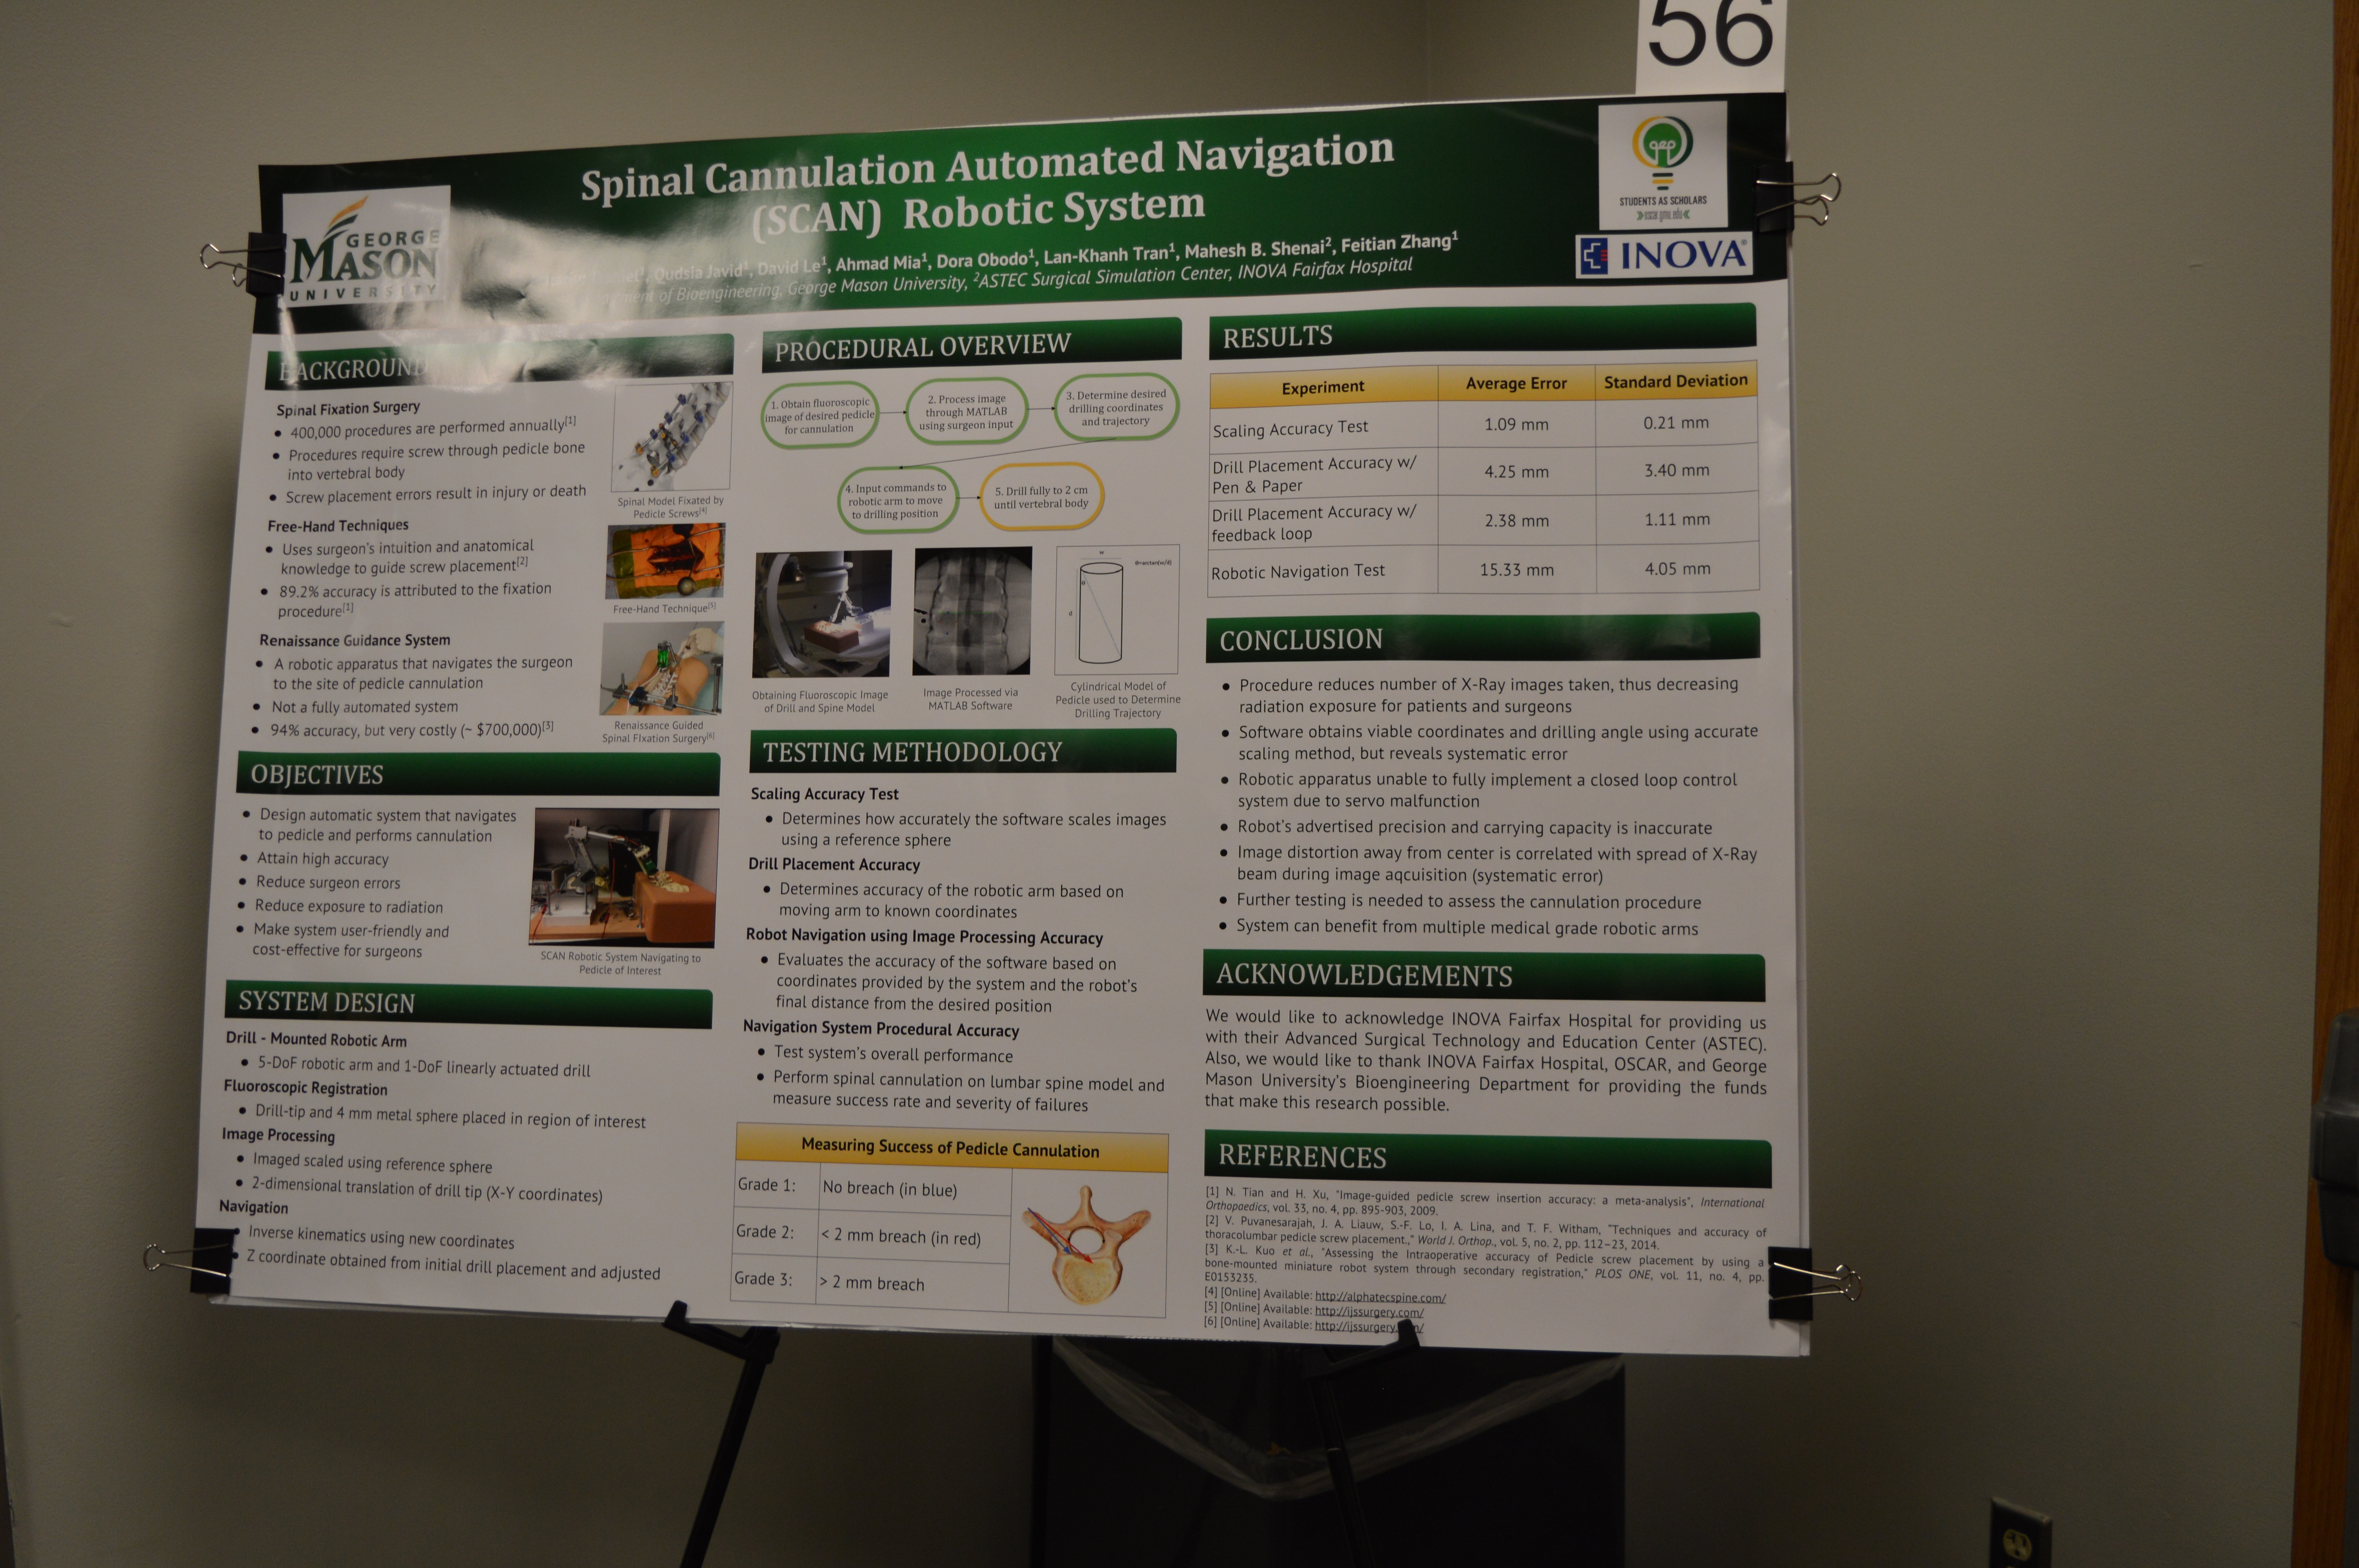
We went to ASTEC at Inova Fairfax Hospital this past Thursday to test out our entire robotic system. We were successful in testing out the automatic navigational system along with the spinal cannulation aspect of the procedure via drilling. In total, we cannulated 7 out of 8 pedicles successfully without breaching into the spinal column. That means we obtained an accuracy of about 88% thus far. Further analyzing our results will indicate how accurate we actually are once we obtain CT scans of the cannulated pedicles. Below are images from the ASTEC facility showing our set up prior to testing along with intraoperative and post-operative images.
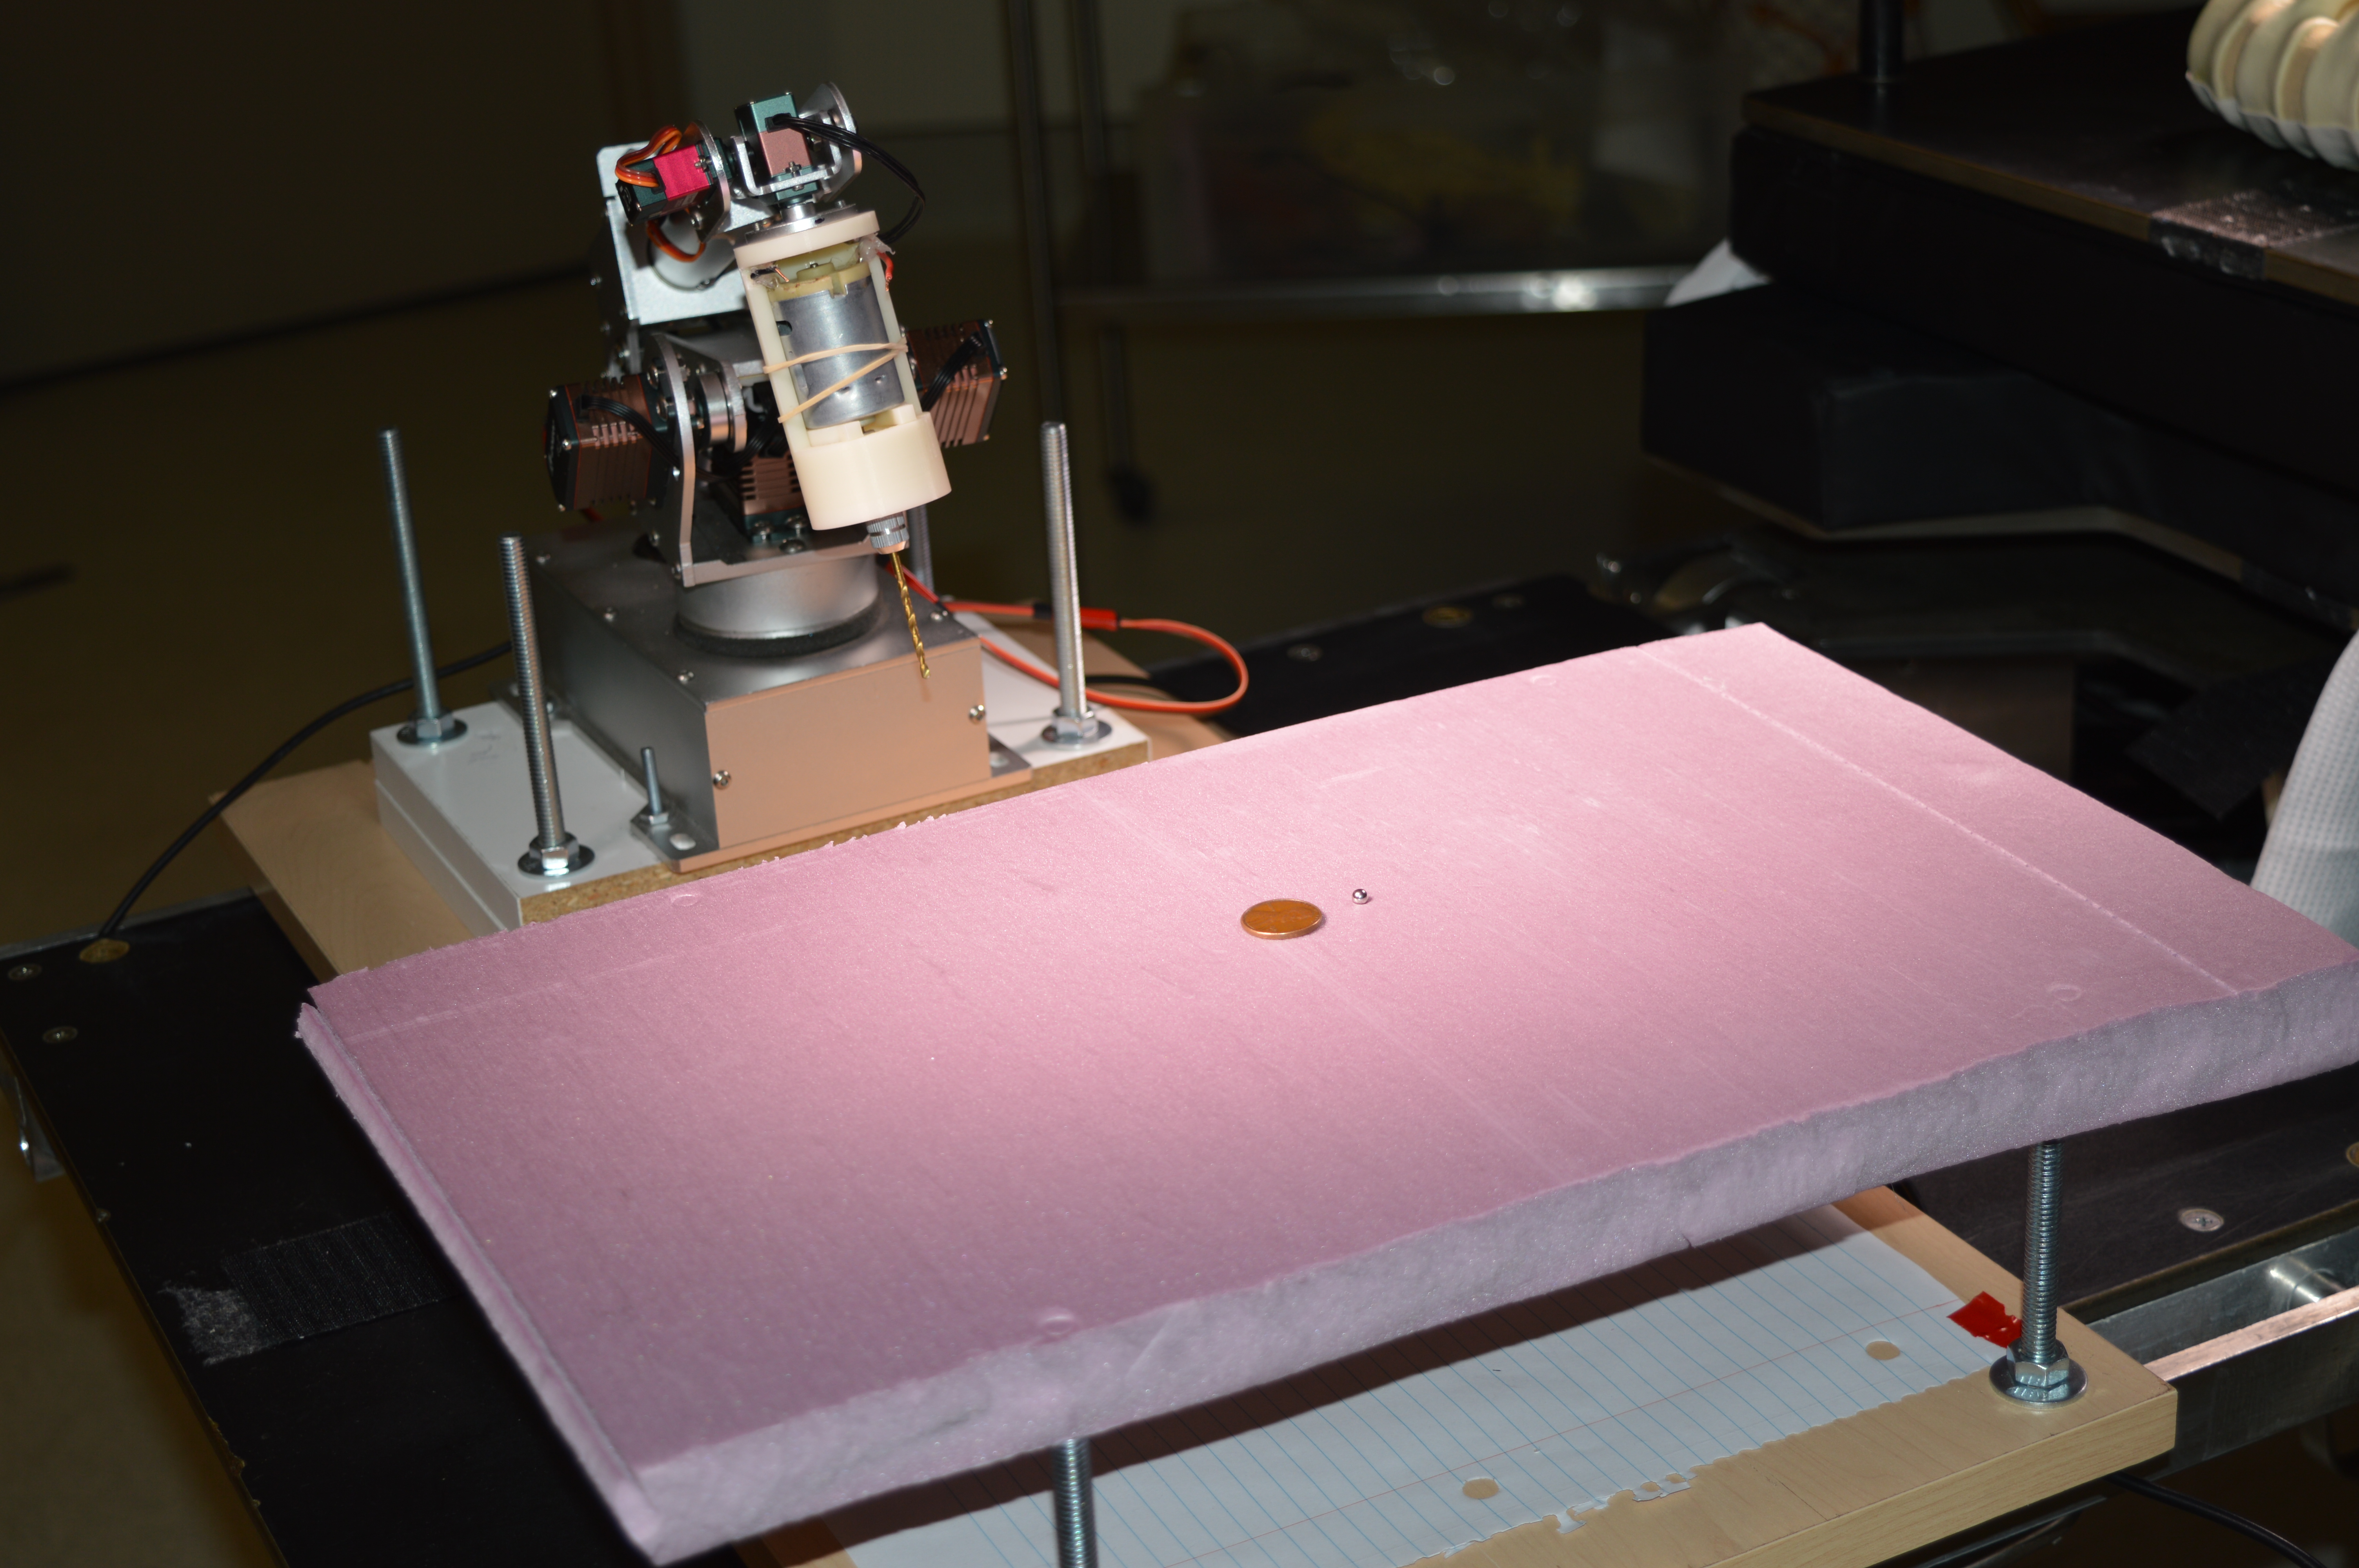
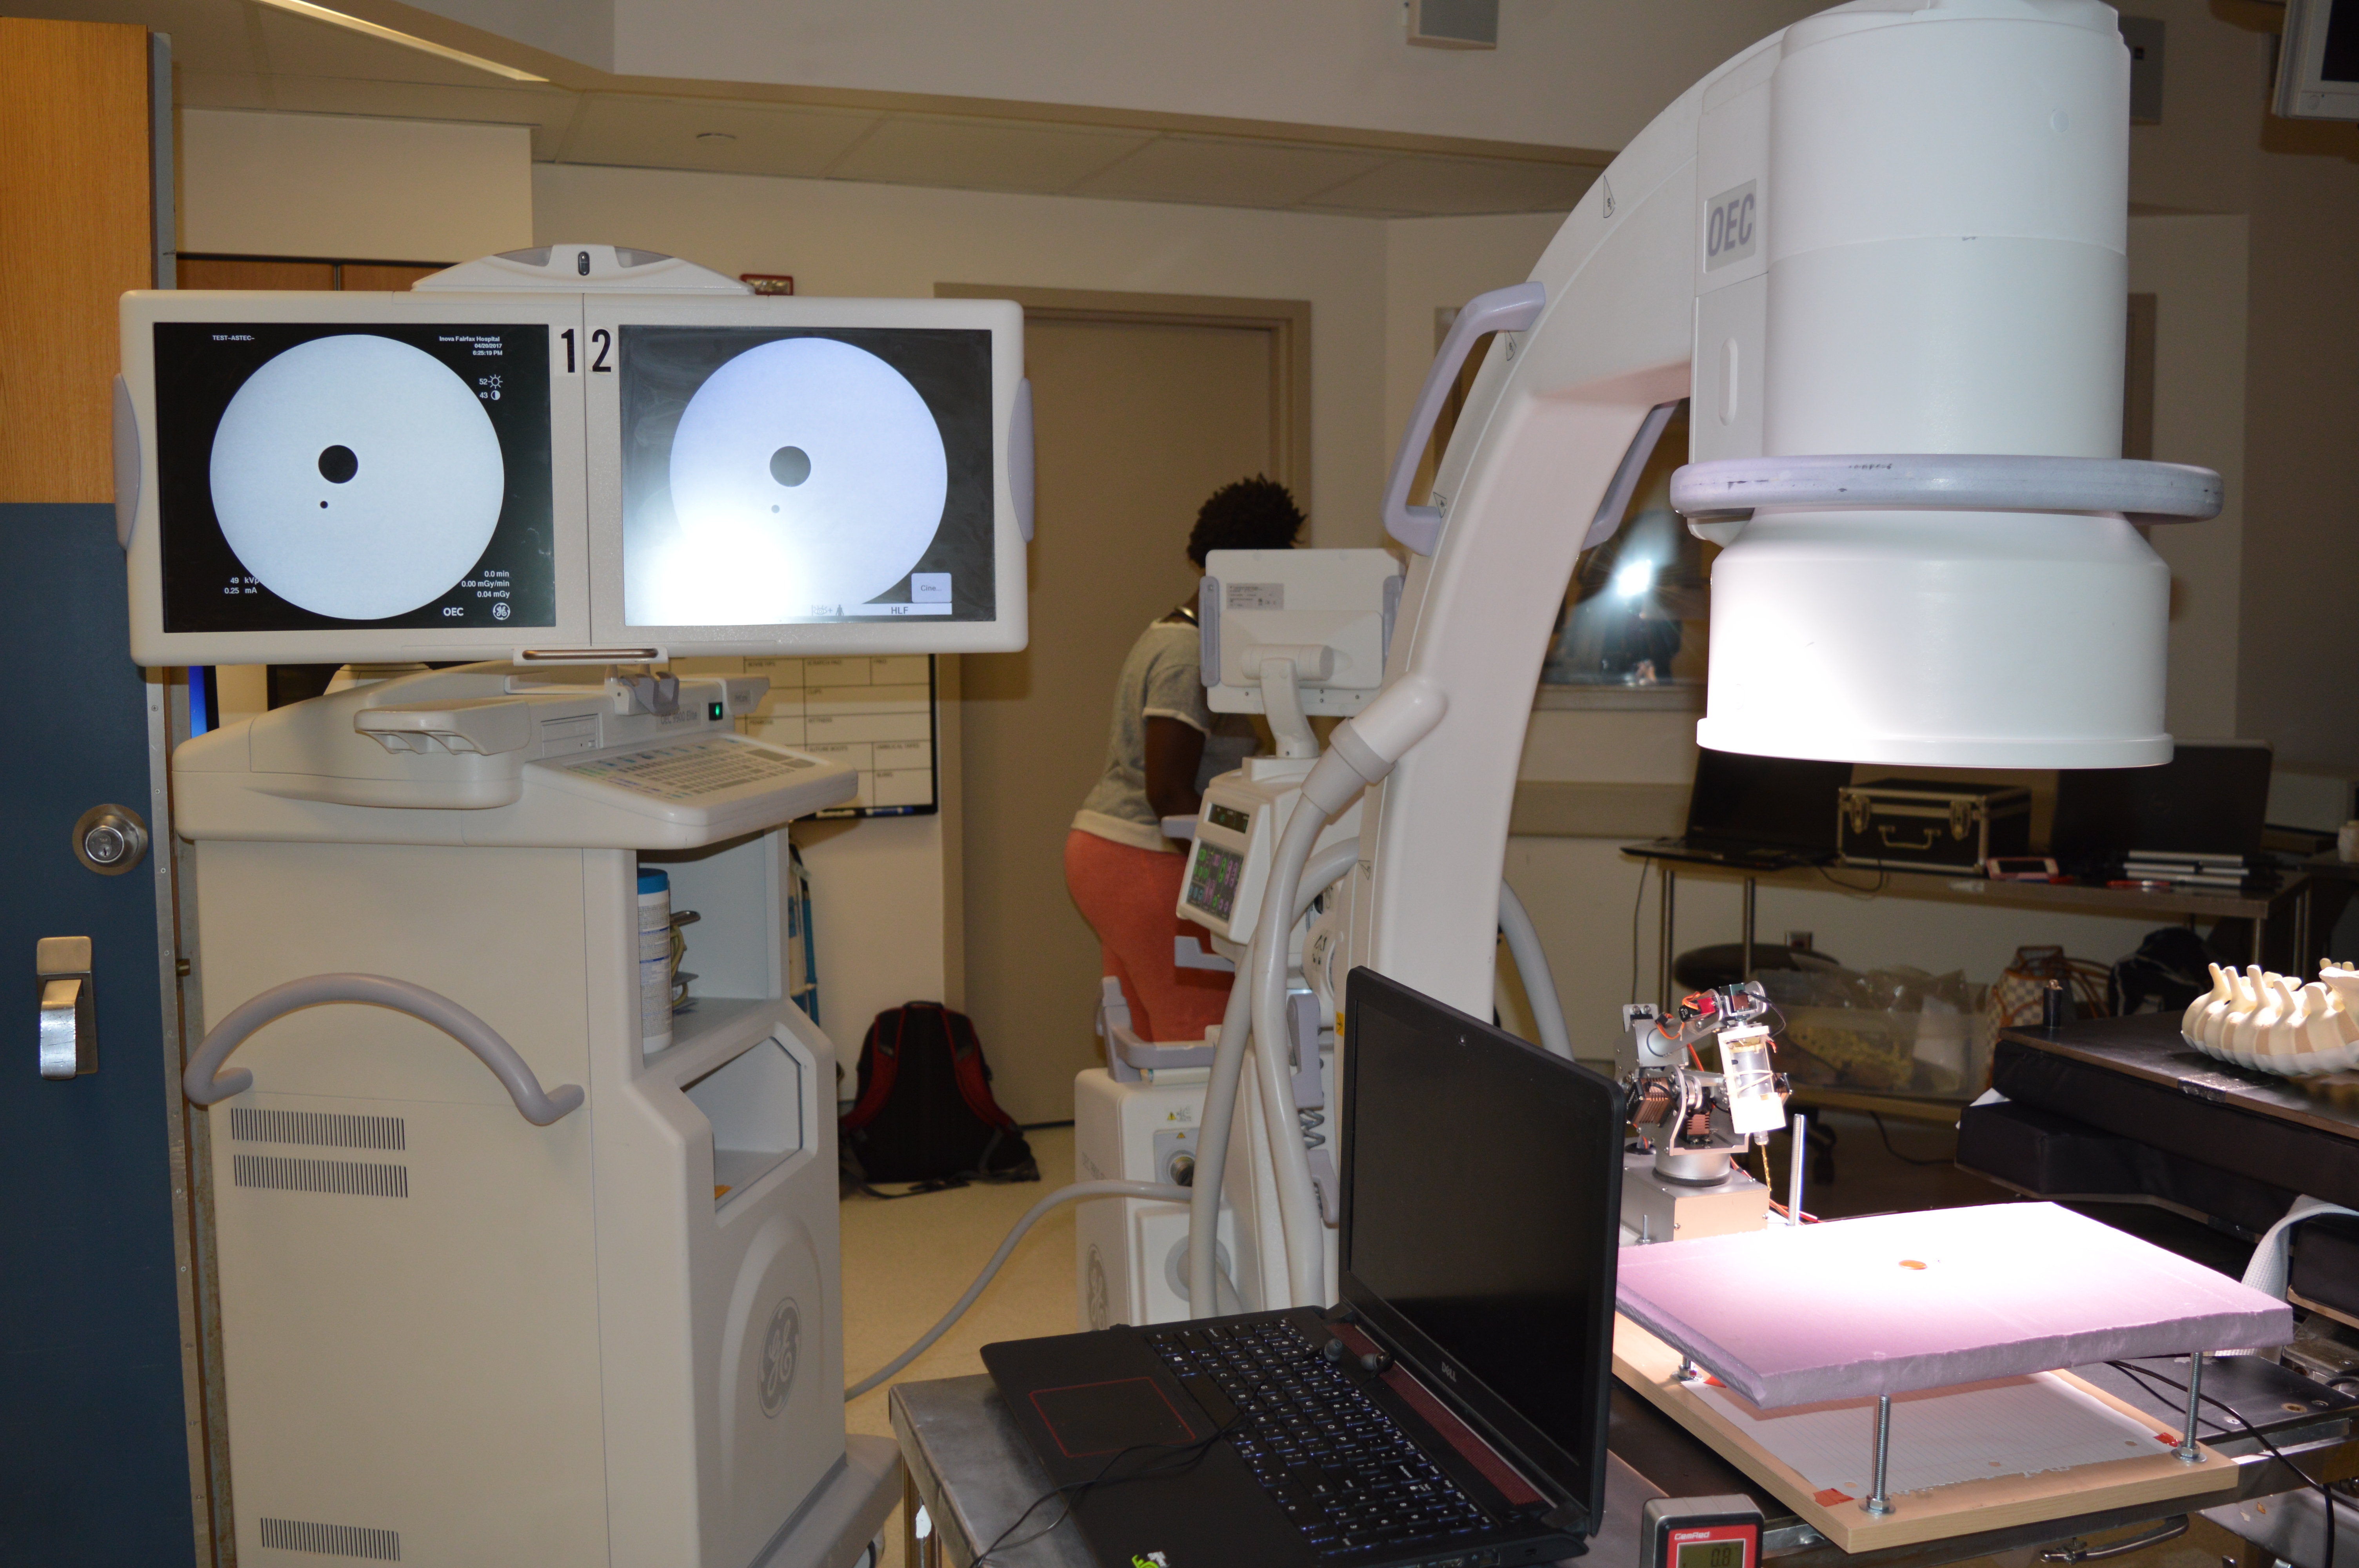
The first image shows the set up for the scaling accuracy test in which we use a reference sphere to scale a penny in our fluoroscopic image to test how accurate our scaling is when marking off anatomical landmarks. The image below it shows the fluoroscopic image taken of this set up.
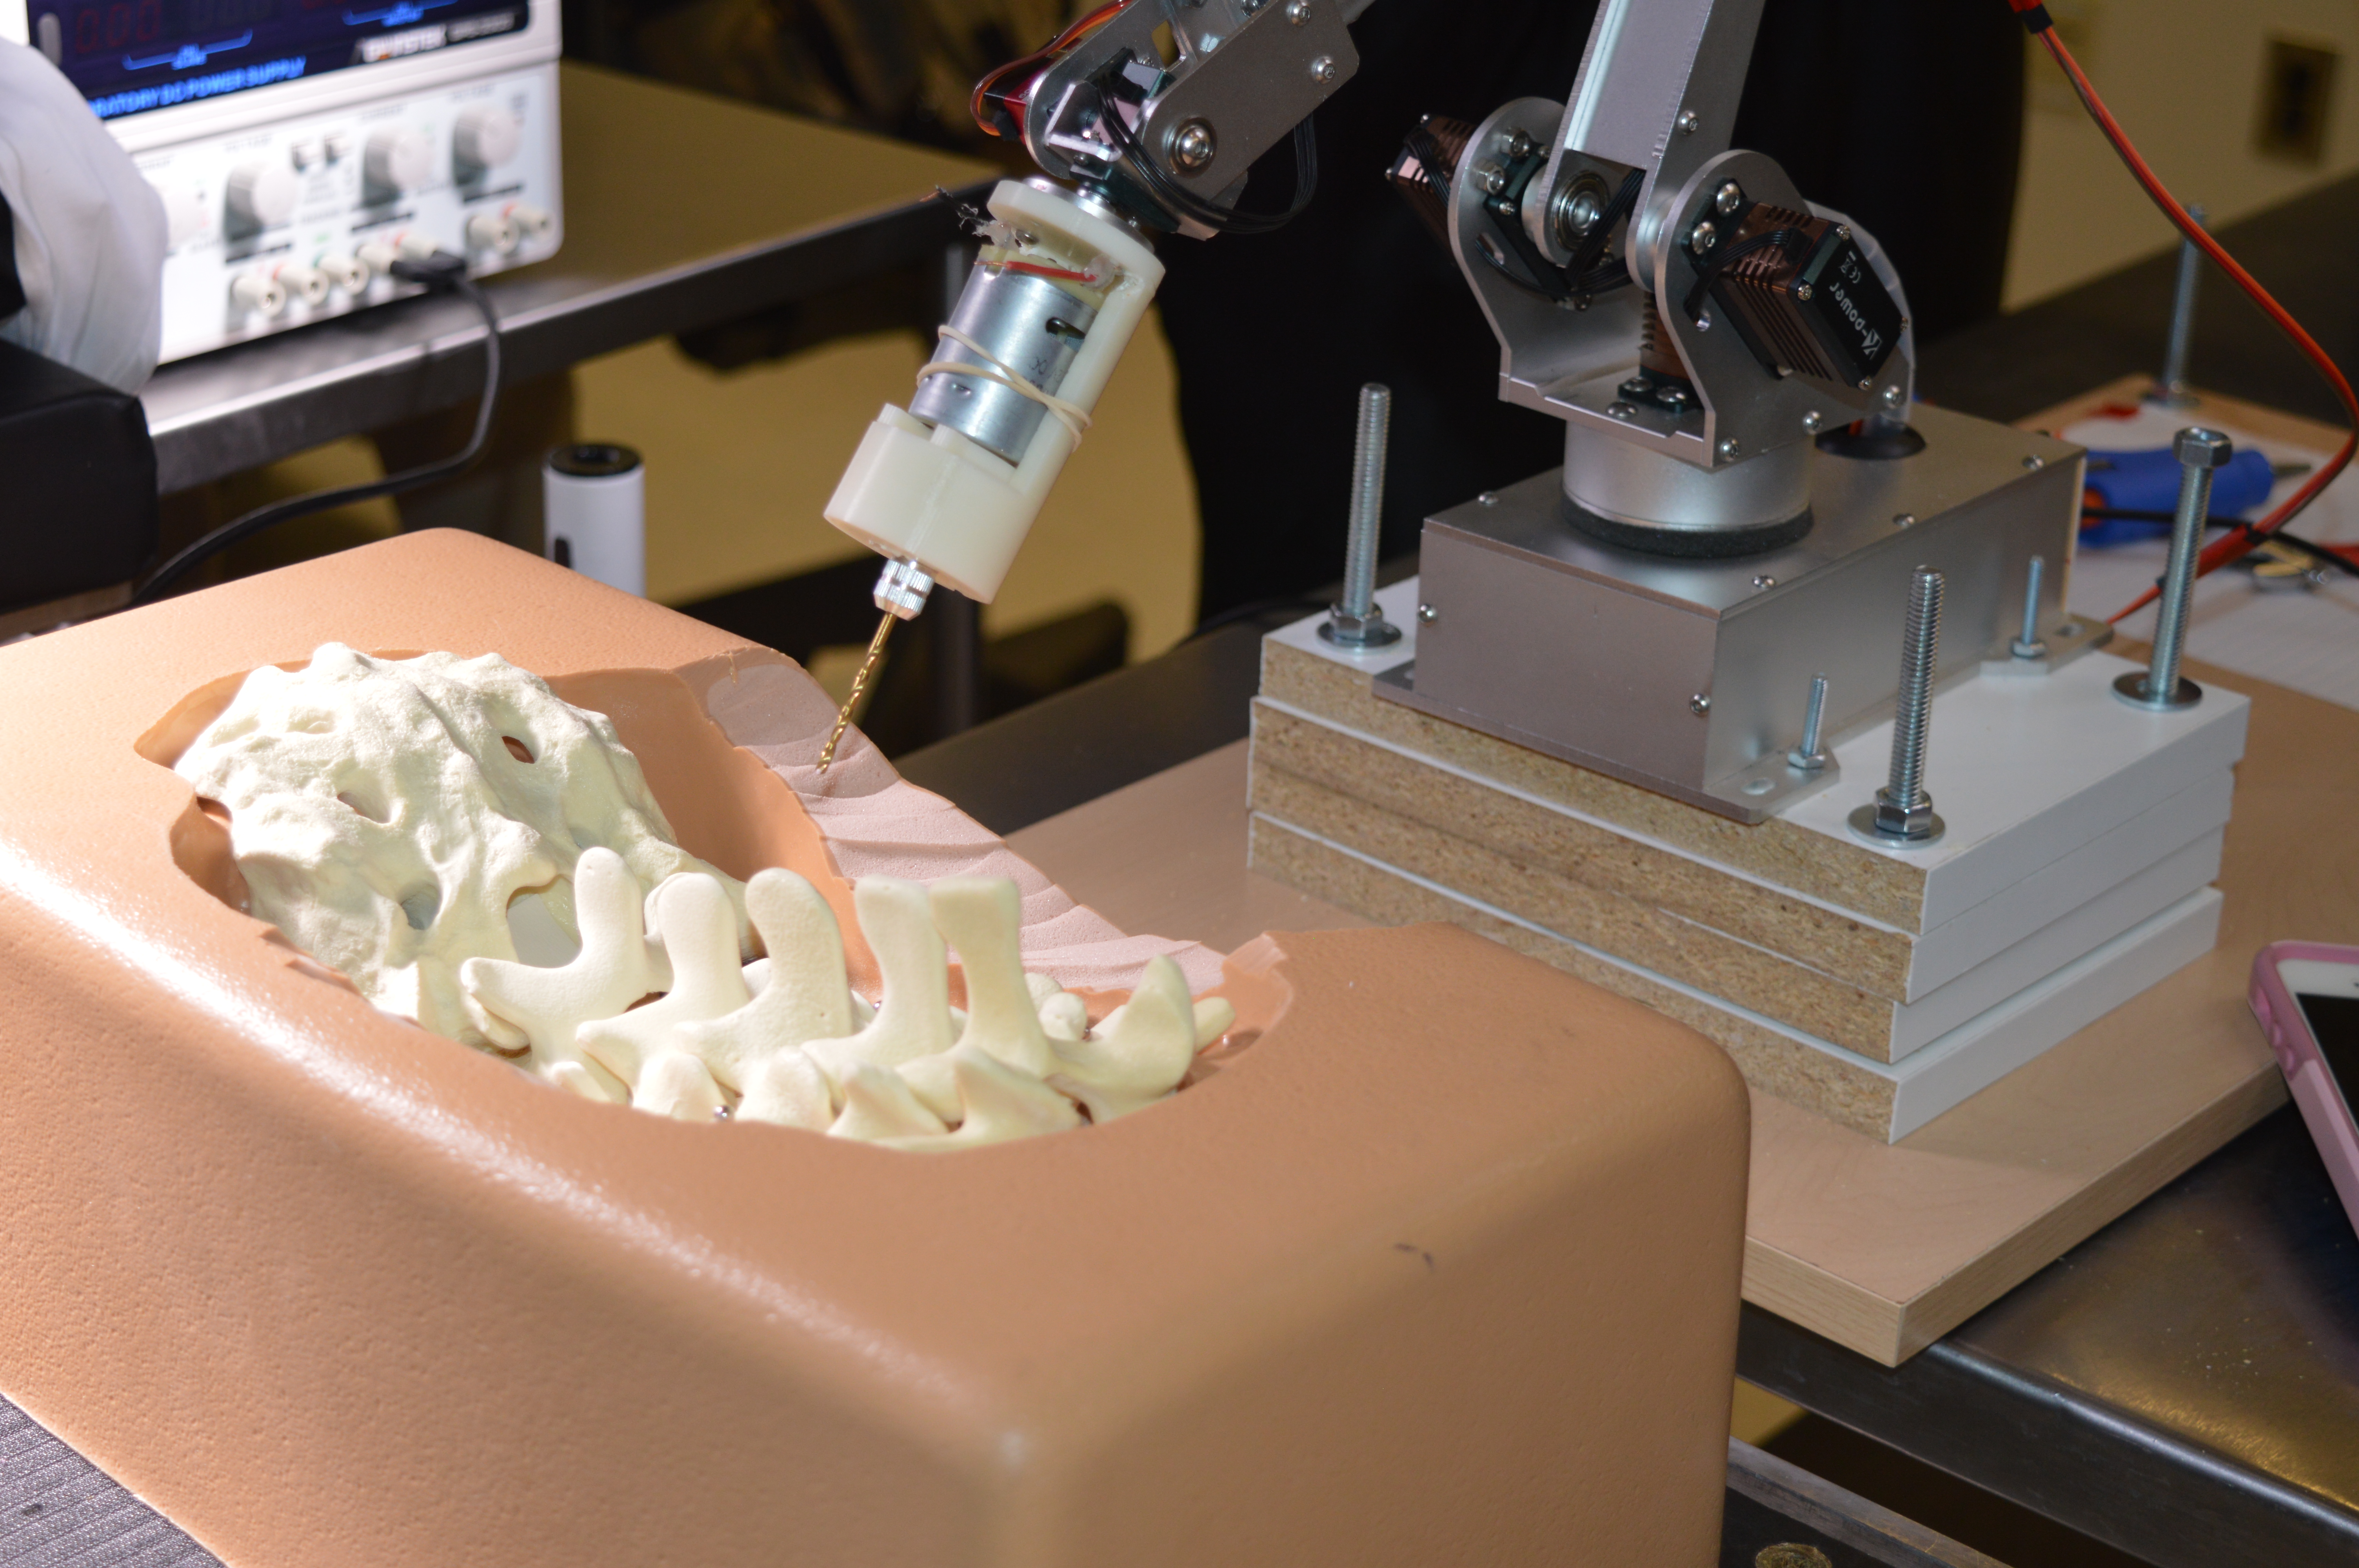
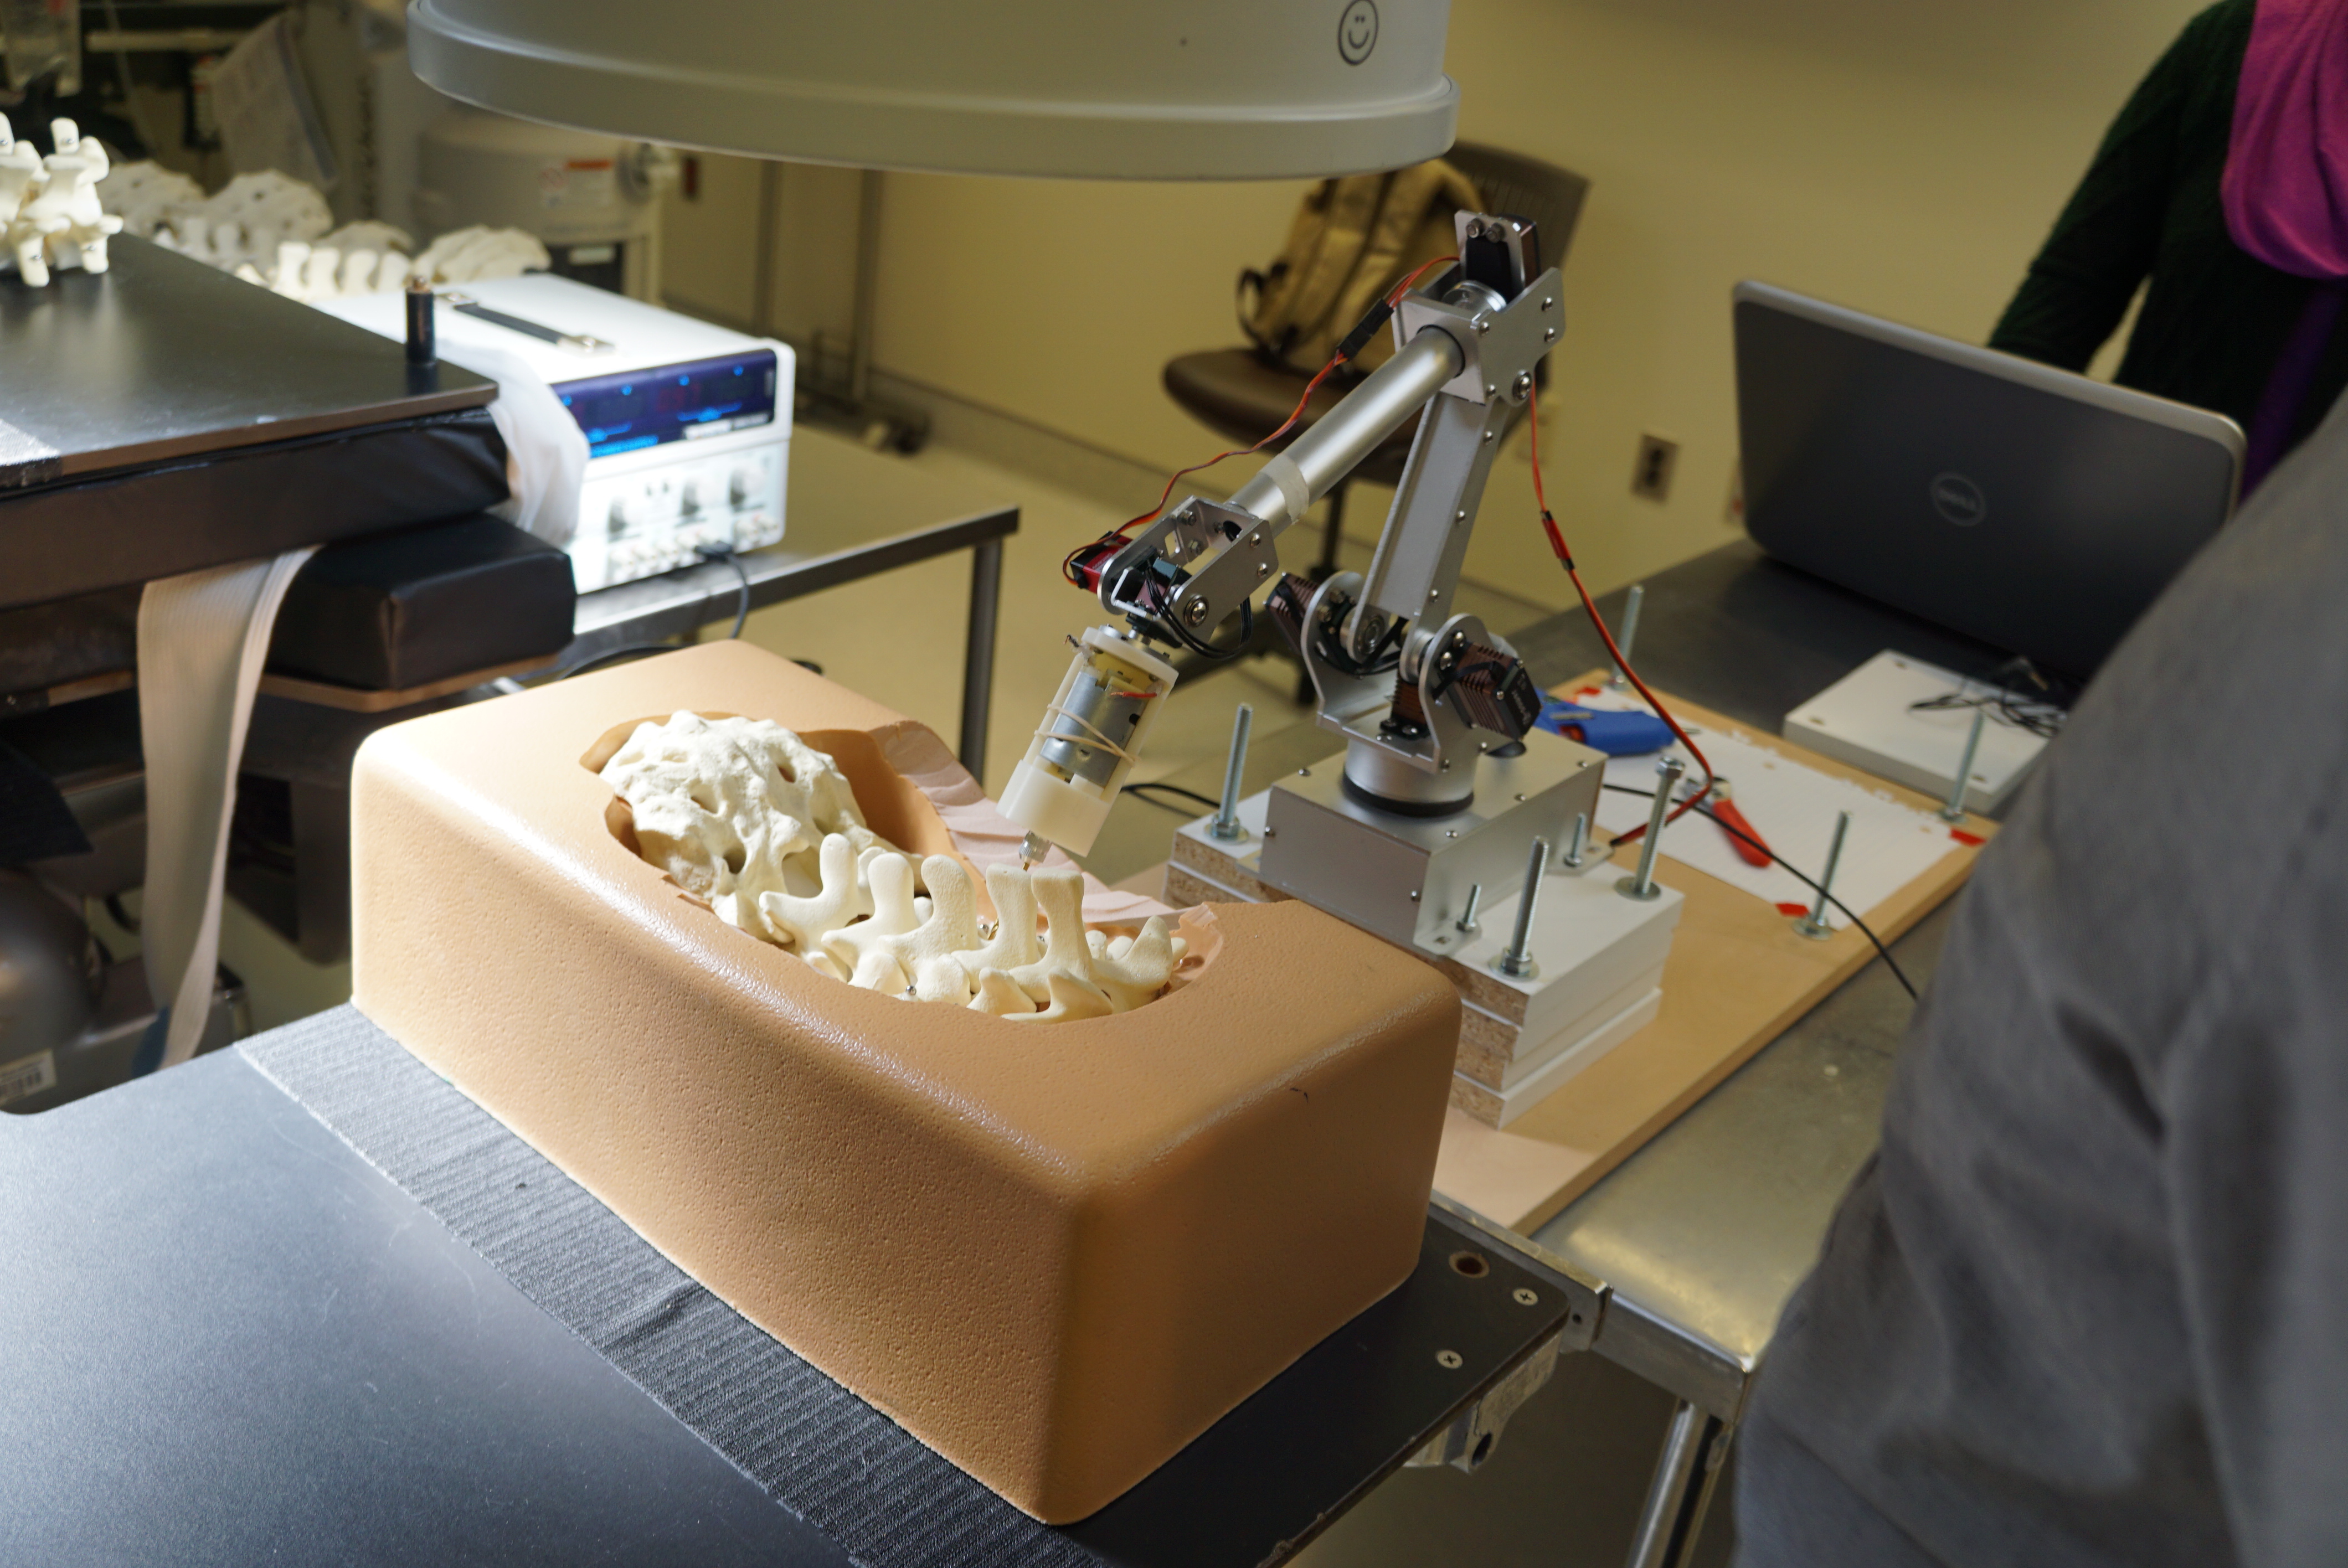
The first image shows the robot in the initial stages of performing the cannulation procedure in which freeze mode was used to freeze the robot’s end effector (drill tip) in the flouro image. This can be seen in the image below it which shows the flouro machine taking an image of the region of interest within the spine.
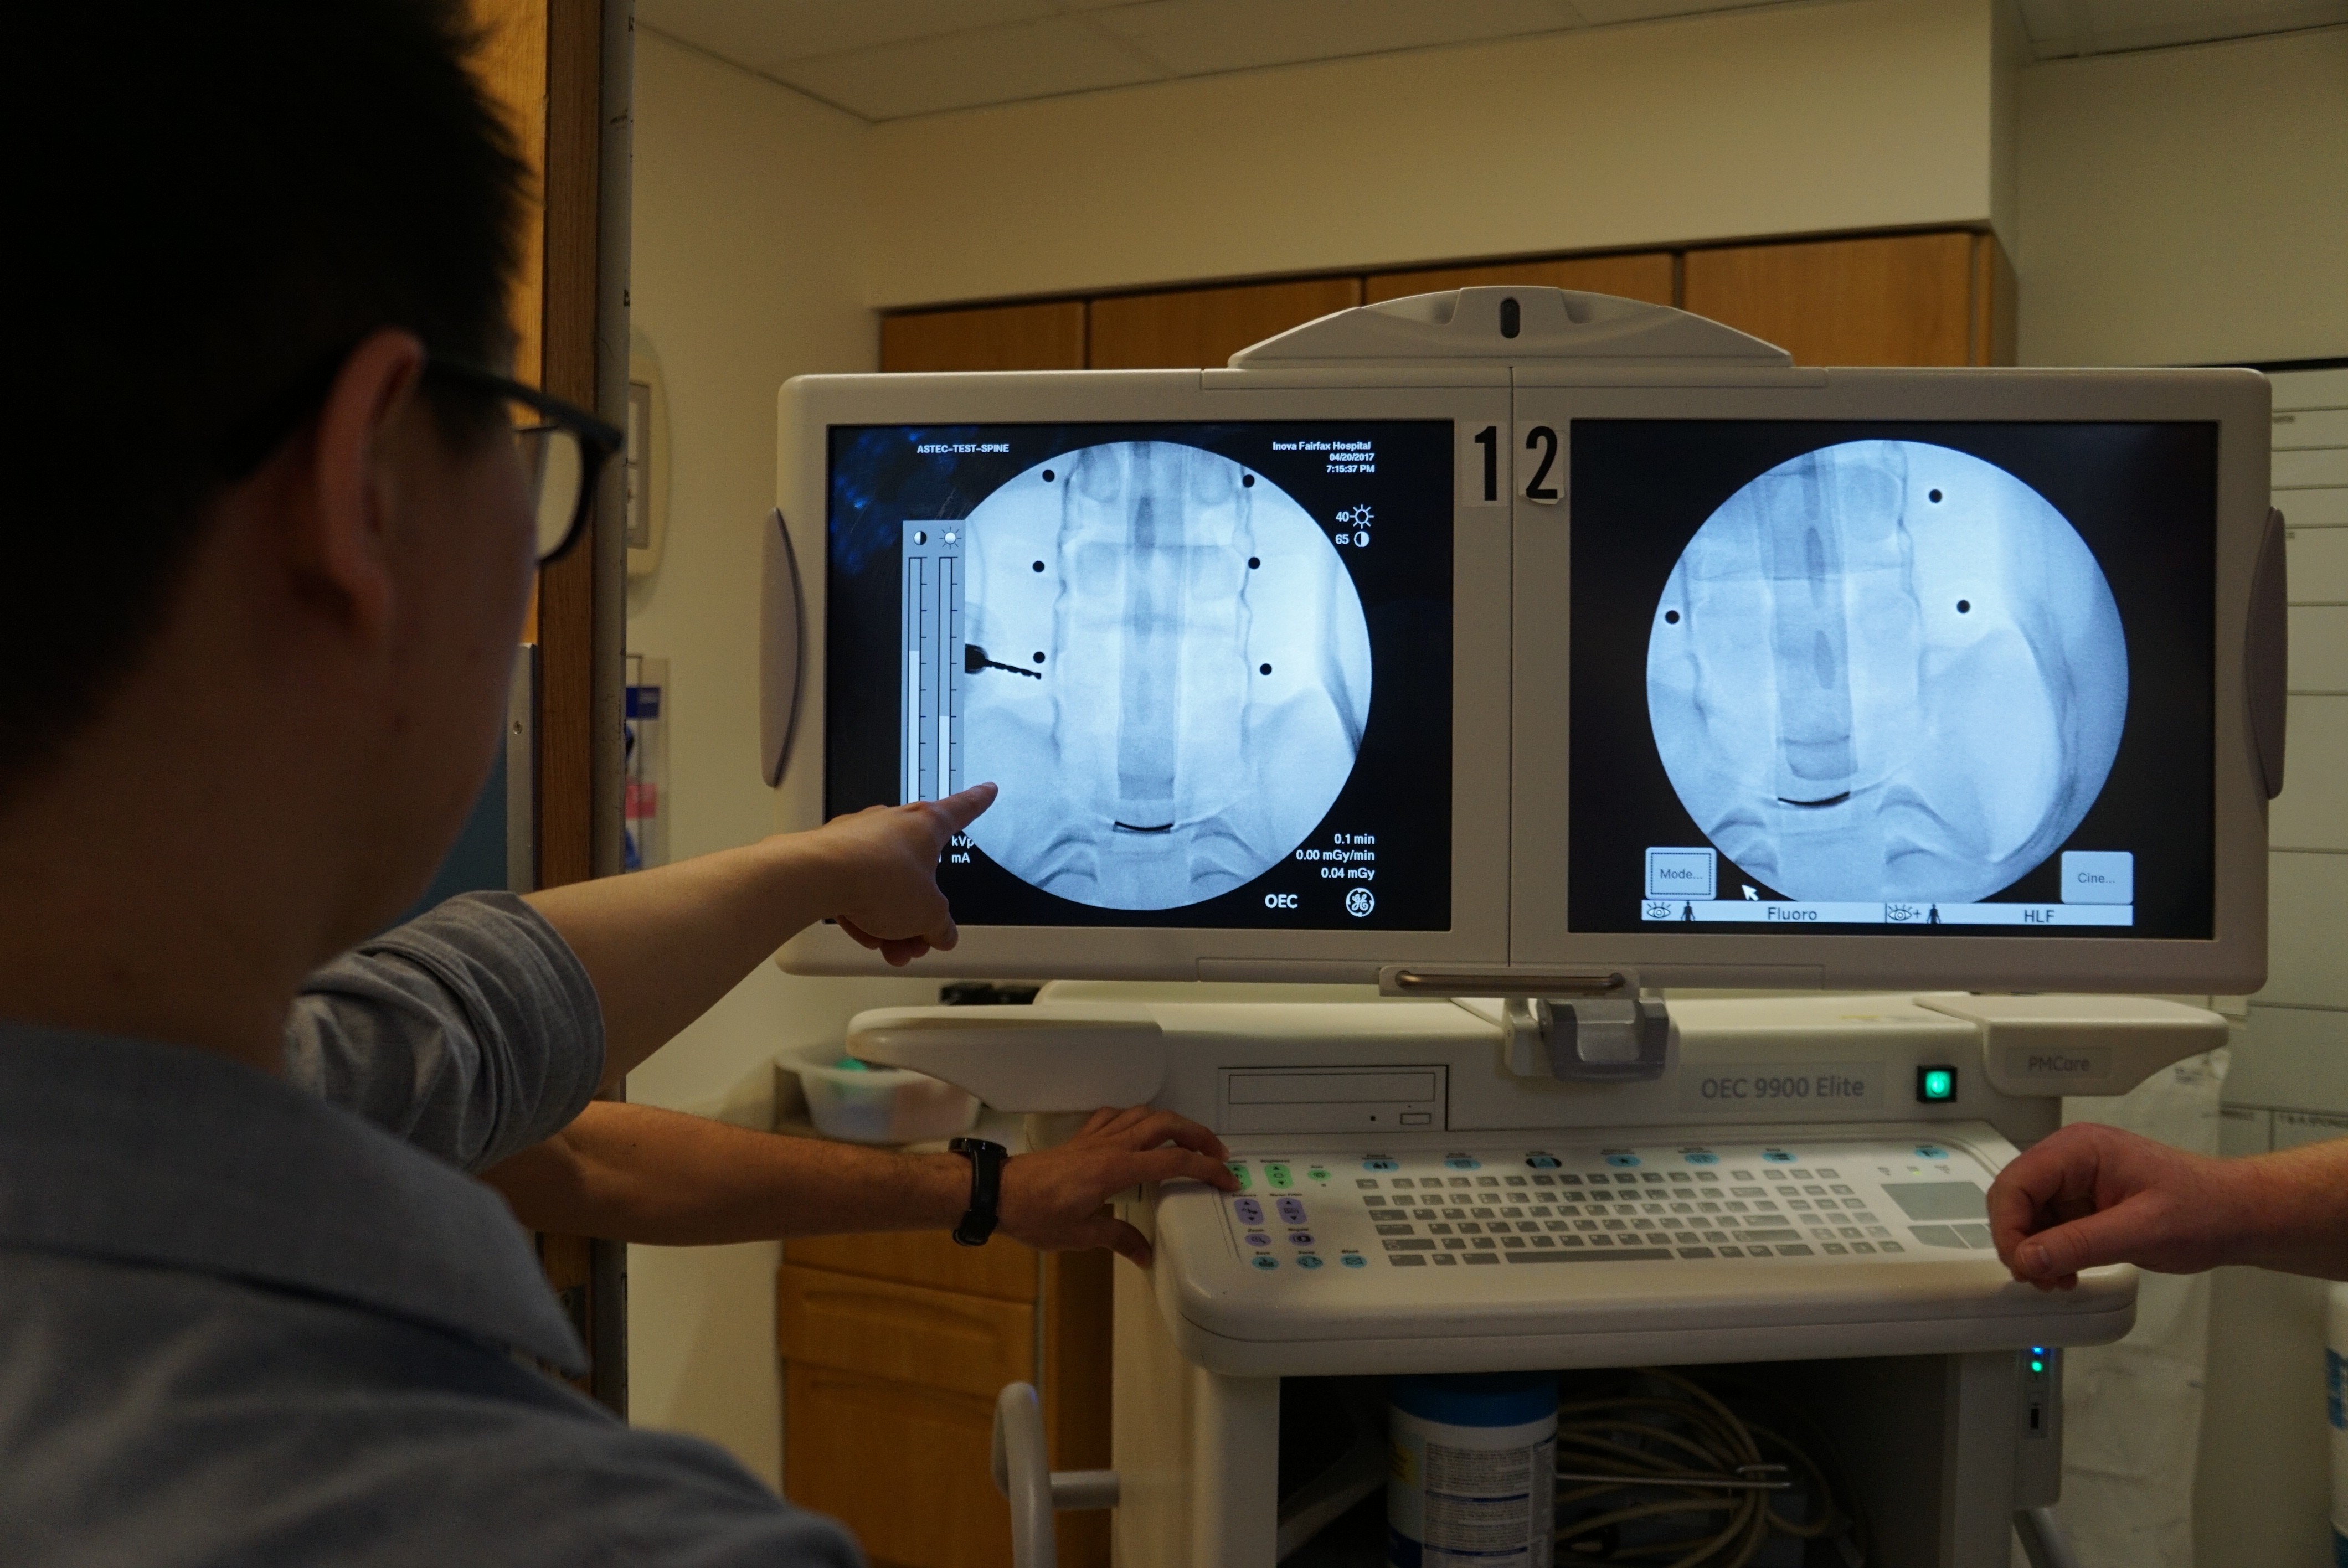
You can see the first image shows the the fluoroscopic image taken of our set up. Through image processing, it was possible to obtain the correct drilling trajectory and coordinates. Once that was done, the robot navigated to the correct pedicle as seen in the image to below it.
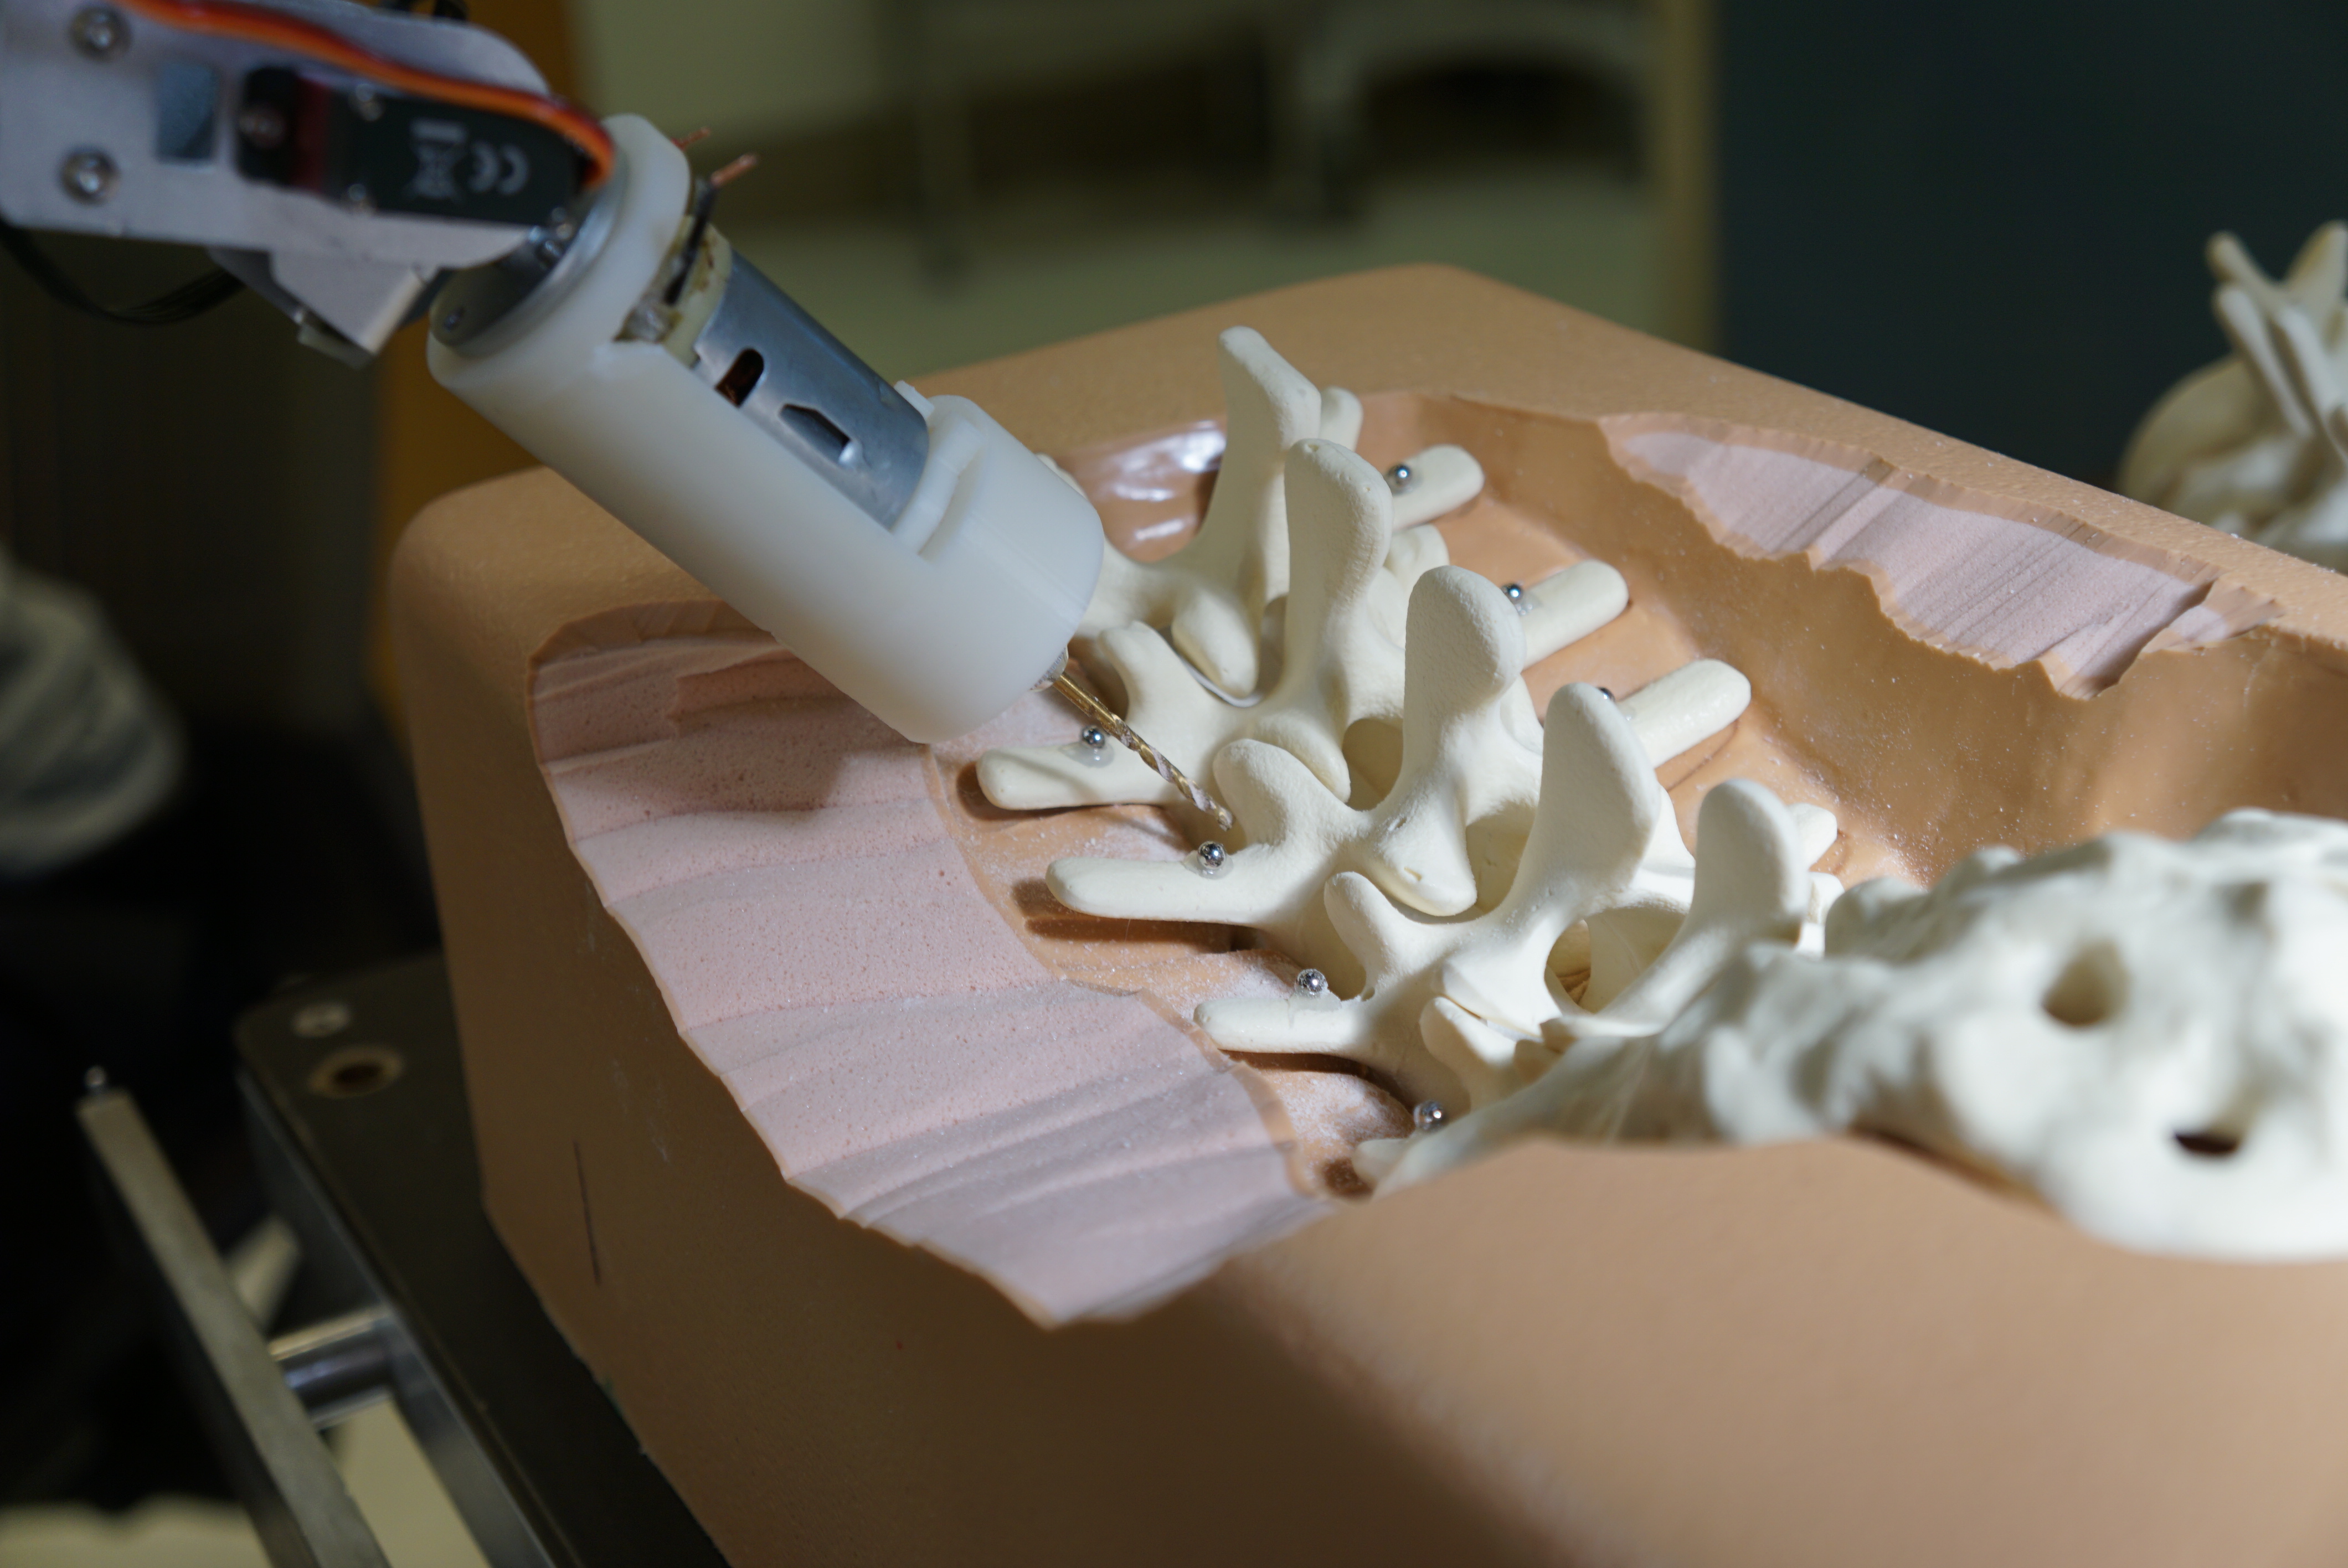
The first image above shows the pedicle being cannulated using the robotic drill. In the image below it, it can be seen that the robot has completed cannulation and has been pulled out of the pedicle. Pedicle cannulation is complete!!! 🙂
04/11/2017
We attended the VSE celebrations on 04/10/2017 where we presented our project on the SCAN robotic system. Our team won the Outstanding Research Award and the Deans Advisory Board Award where we were chosen to present for the dean’s advisory board. Below are images from the VSE celebration last night.
***UPDATE***
11/29/2016
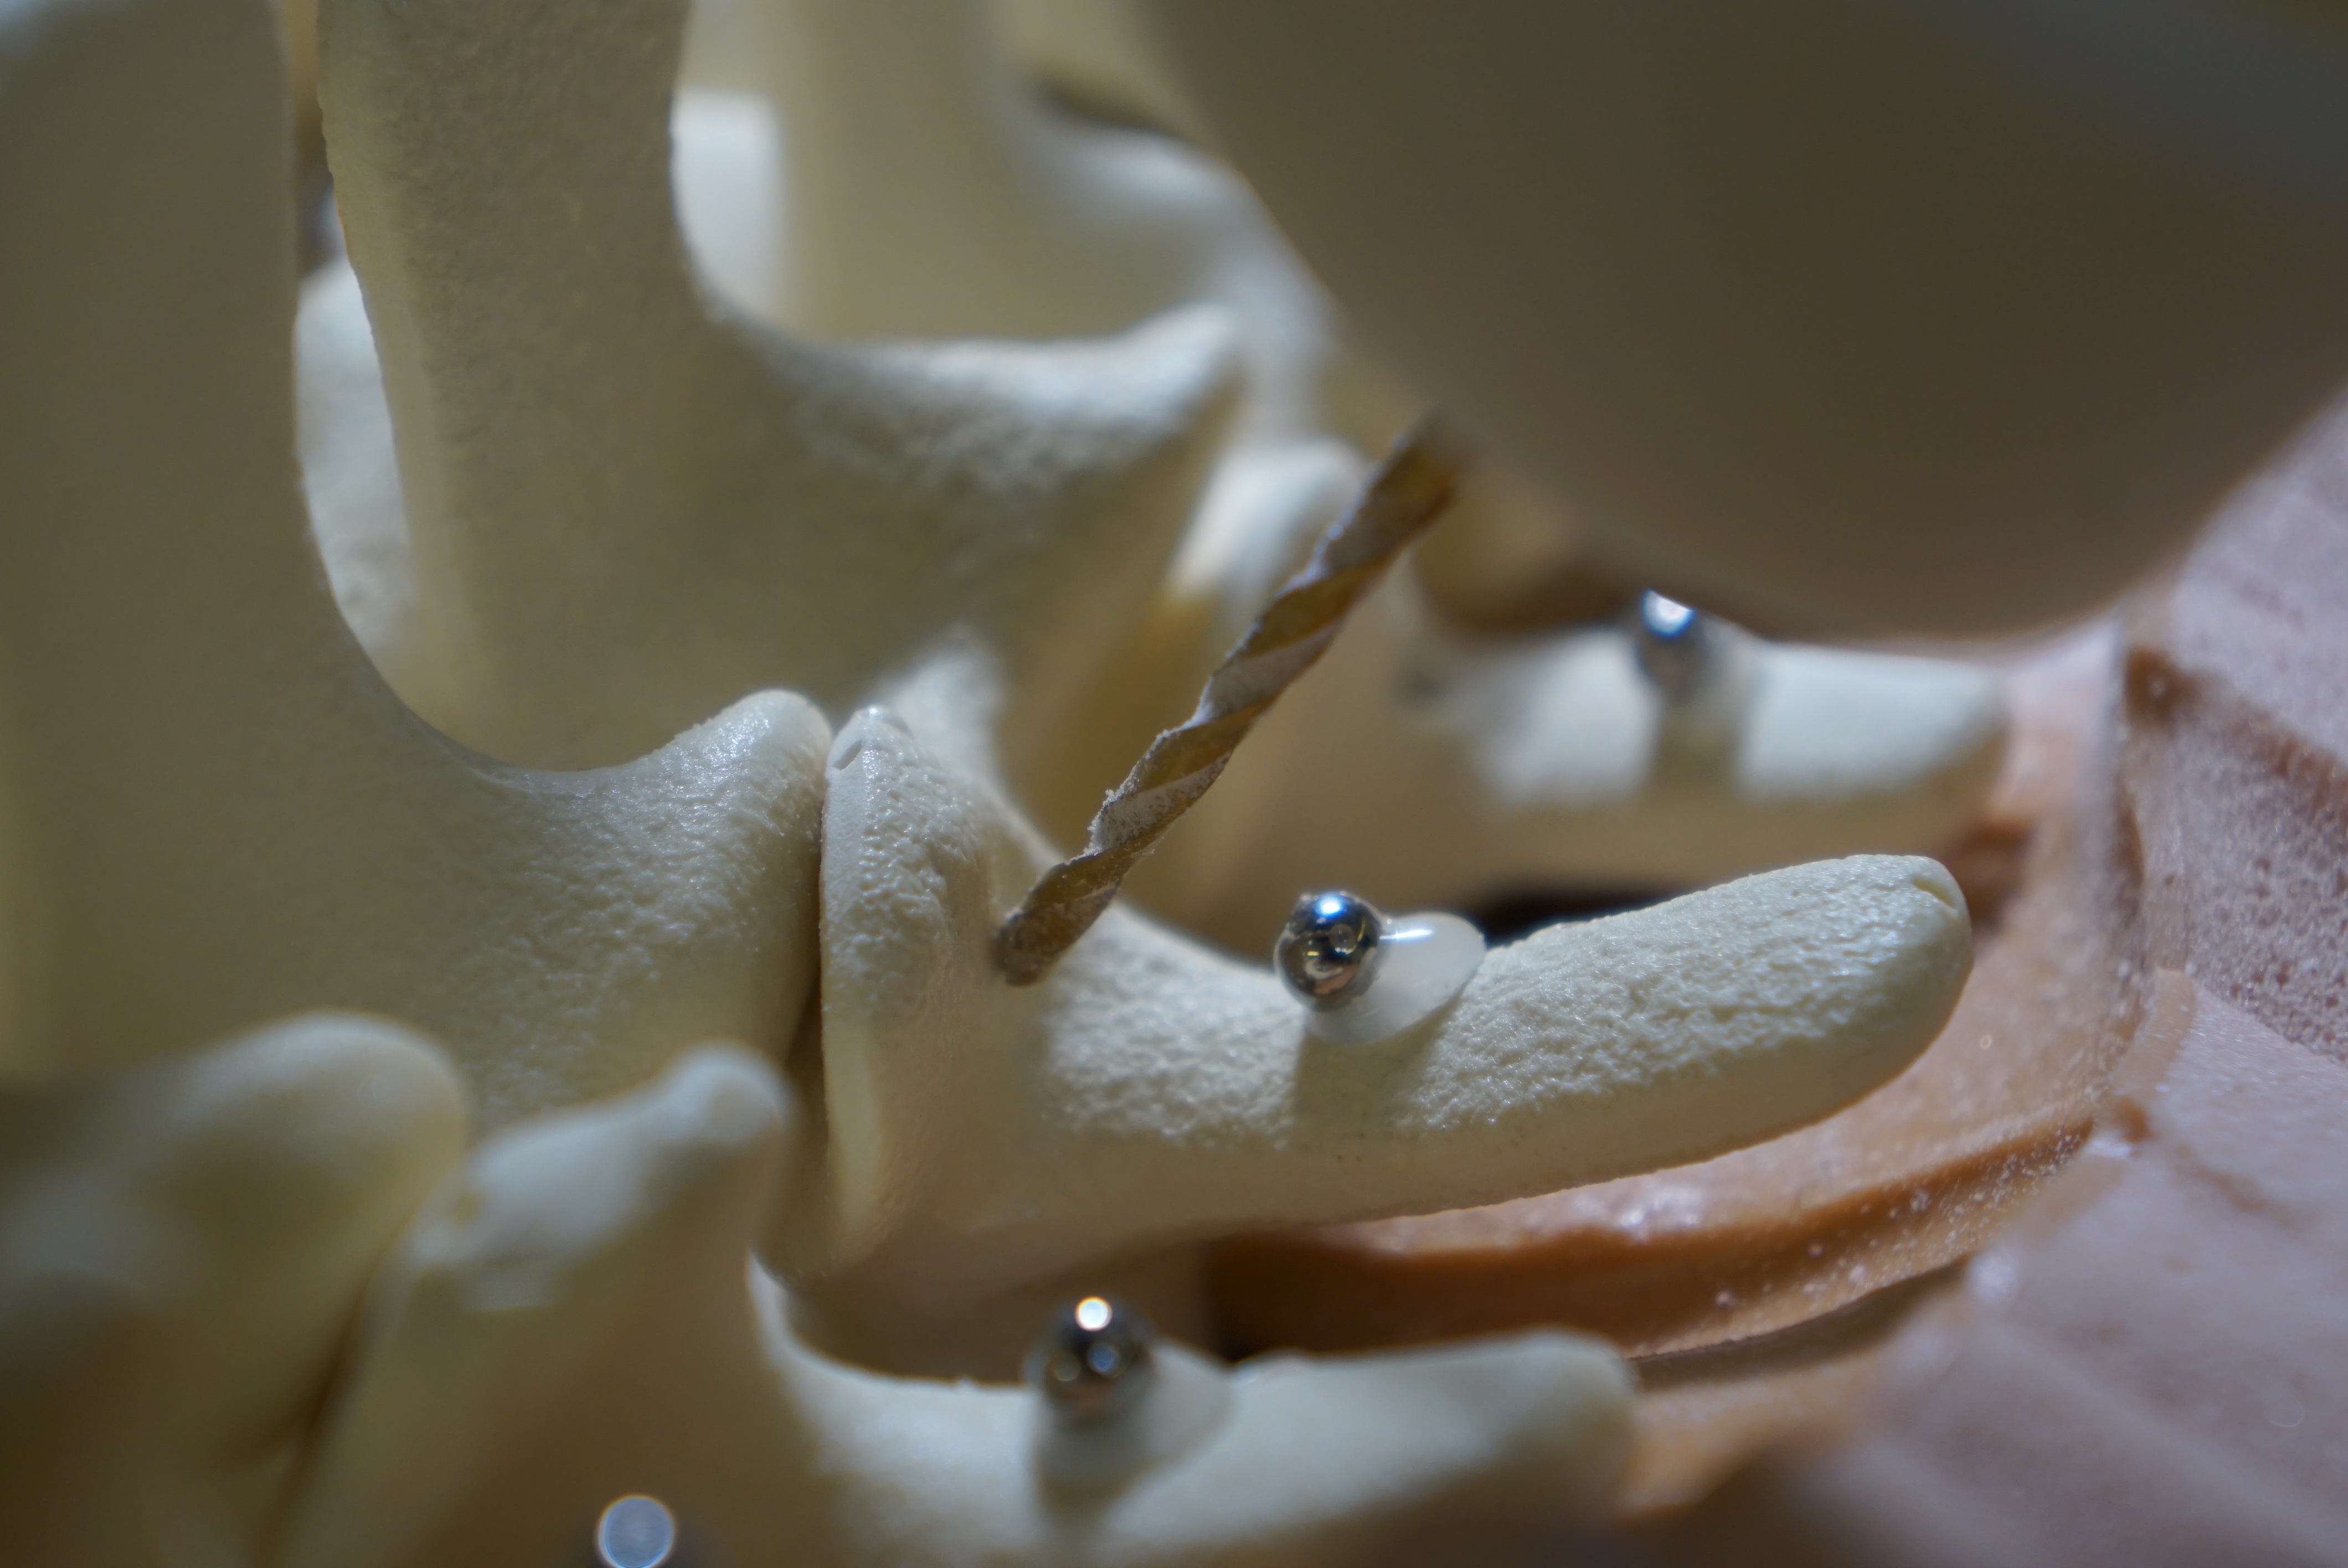
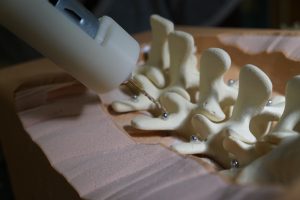
We went to ASTEC and obtained fluoroscopic images of the spine with the robotic drill tip in the image. A series of trials were performed to obtain joint angles from the robot during this process. Below you can see a few images we took while at ASTEC. Some obstacles we came across was using a stop mode functionality provided by the robot to take images of the robot drill tip in the images. We were able to overcome this using a normal mode that completely stopped the robot making it completely stationary. Stop mode allowed us to supplement this mode by slowly navigating to the site of the pedicle from where the normal mode allowed the robot to become stationary.
Figure 1:
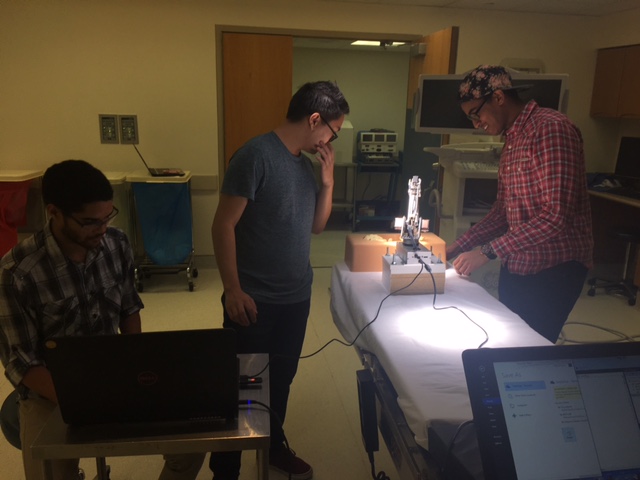
Figure 1: Shows group members observing the robotic arm being lowered gradually into the spine model onto the pedicle using stop mode and normal mode to make the robot stationary once the drill tip is on the pedicle.
Figure 2:
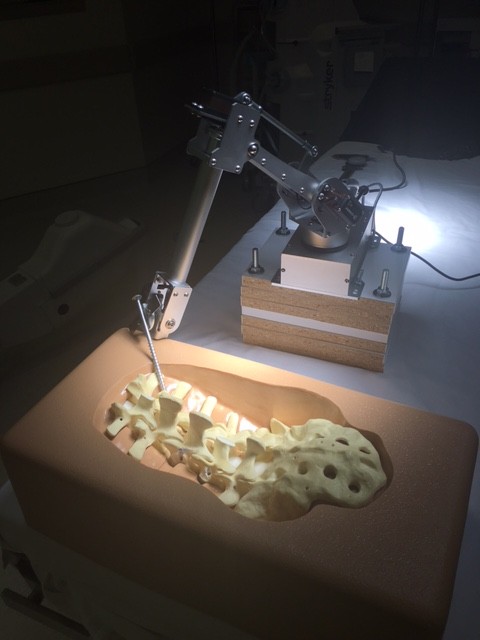
Figure 1: Image of the stationary drill tip(drill hasn’t been added to robotic end-effector in this image yet) on the pedicle.
Figure 3:
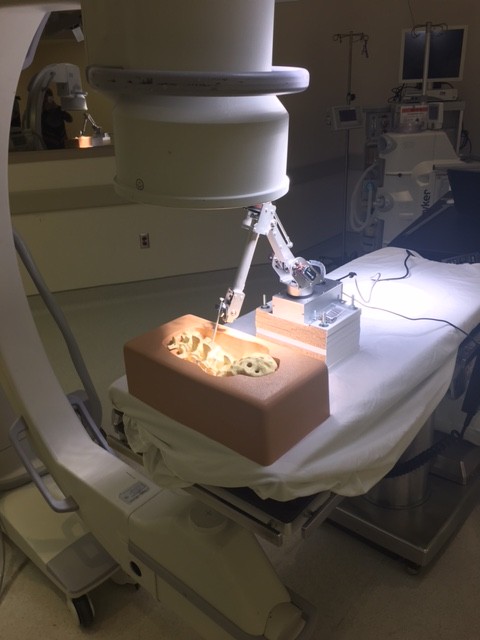
Flouroscopic image being taken of the drill tip on the pedicle once stop mode and normal mode are used.
11/18/2016 :
We haven’t been amazing at keeping this website updated, but here is our progress so far:
Back in October, our main focus was on using a fluoroscopic image and allow for user input to select landmarks in the image. This is currently done through MATLAB which is the program of our choice for designing algorithms.
Also, we received our robotic arm! It is the 7bot, which has a full range of motion and can carry the drill and an linear rail to push the drill into the bone.
Our next steps are to determine the coordinate system that the robot uses and translate that over to the coordinate system in our fluoroscopic image. We’re also working to get everything to work with C++ so that there will be a seamless experience.